Summary
Understand the three types of Frontside 180
There are three types of Frontside 180s (or FS 180s): the "Pop and spin type," the "Enhanced Ollie type," and the "pivot type." Each type has a different way of applying force to the board and a different mechanism of rotation, so choosing the type that suits you best and practicing step by step will help you improve efficiently. Beginners should start with the "Pop and spin" type.
Physical phenomena on the board
Understanding the physical mechanism of how to pop the board, how to control the front foot, and hown to move the center of gravity during rotation will help you achieve smooth rotation. For example, in the "Pop and spin" type, most of the rotation is generated by popping the back foot, whereas in the "Enhanced Ollie" type, the board is rotated 90 degrees and the front foot is used to rotate the remaining angle.
Overcoming the fear of landing Switch
Since you'll land in the Switch stance in a FS180, it is important to overcome the fear. Practice end-walks, end-overs, and switch tick-tacks to get used to the switch stance and reduce your fear of the switch stance so that you can land smoothly.
Use "Dual Player" to compare your movements between videos
Whythetrick developed the "Dual Player," a tool that allows you to frame-by-frame playback two videos with simultaneously. The system also supports Youtube videos, full-screen on one video, loop control, adjustable playback speed and more.
Simulation
Hit the icon in the middle to start a 3D animation.
3 Types of FS 180
Type #1: Pop & Force Rotation
Pop and rotate your shoulders to force rotate your board.
Type #2: Enhanced Ollie
Pop like an Ollie and use your front foot to turn the rest.
Type #3 Pivoting And Turning the Rest.
Land halfway, use pivot to complete the rotation.
Type #1: Pop & Force Rotation
Overview
If you are new to skateboarding, I recommend this one. Even if you can't Ollie very high, if you can pop the board and rotate your upper body, you can rotate 180 degrees.
How to do it
The foot placement is the same for all types: the front foot should be placed with the toe hanging off, and the back foot should be placed on the heel side of the tail. I'll explain why you should place them like so later.
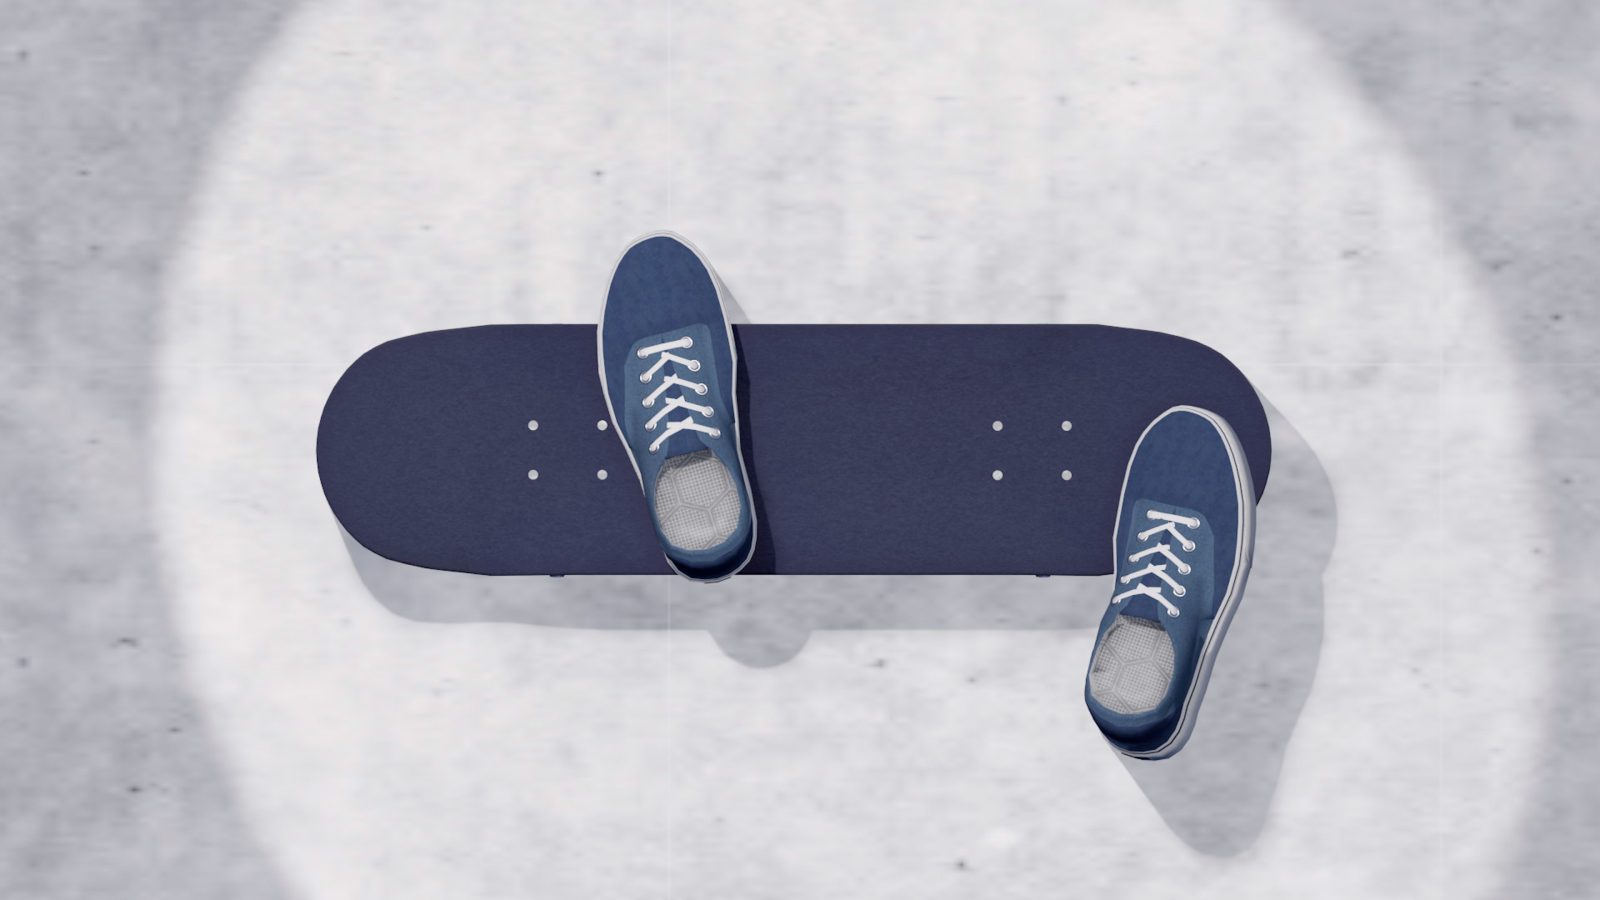
Begin rotating the shoulders while approaching so that by the time the nose lifts, the shoulders are rotated 90 degrees.
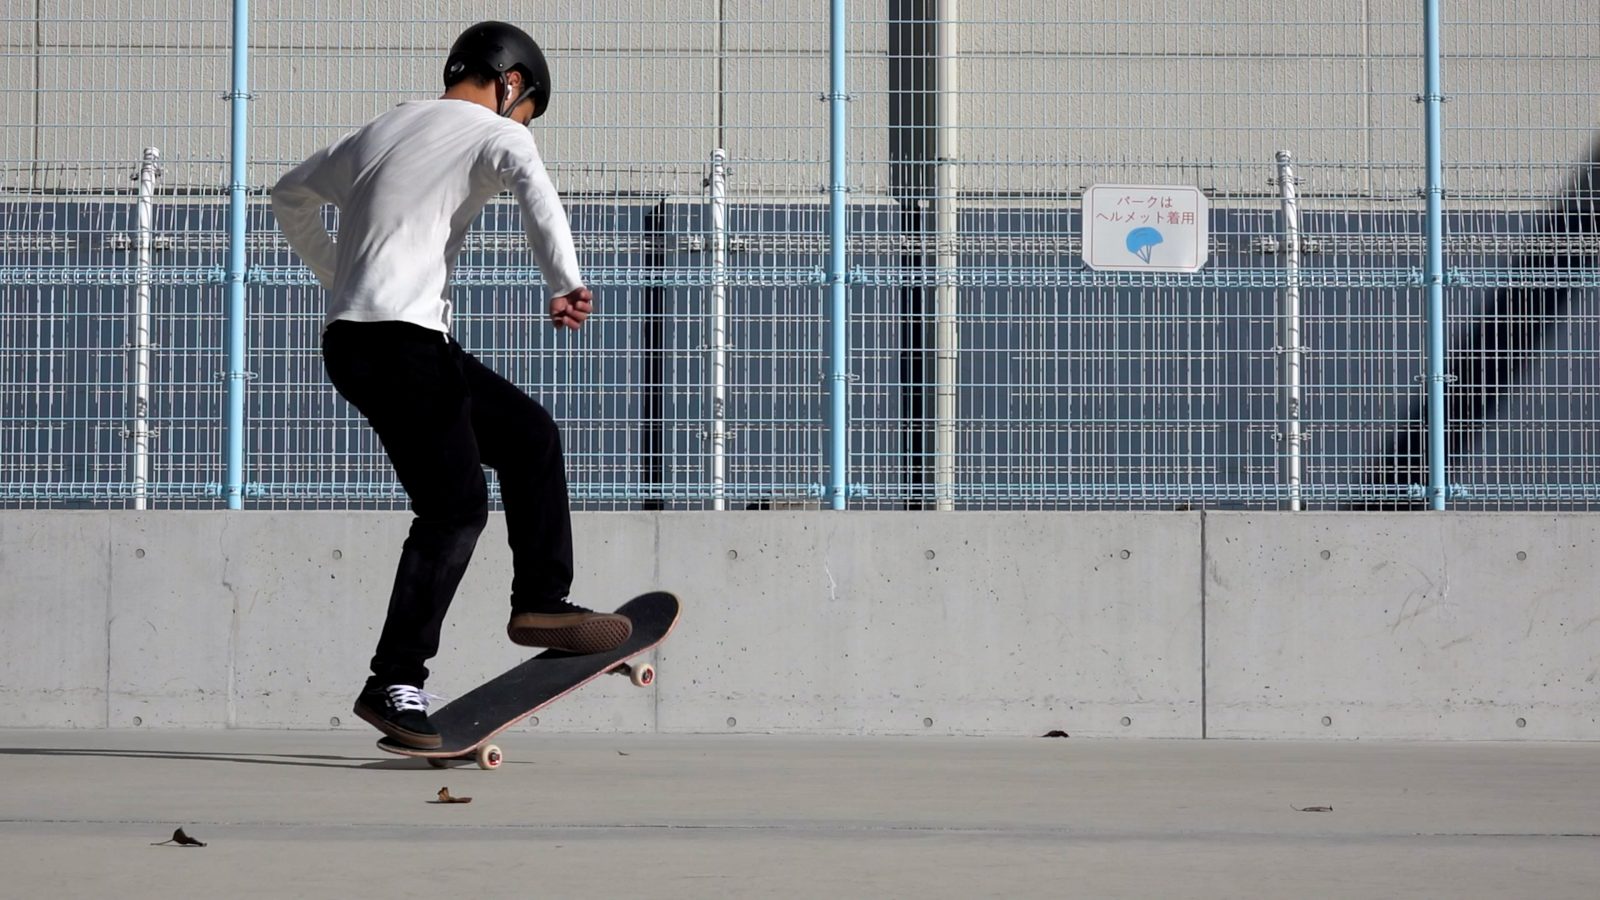
Pop the tail and push it in the direction of the toe to generate a stronger rotation. Since the back foot is on the heel side of the board's central line, pushing the tail forward will effectively rotate the board.
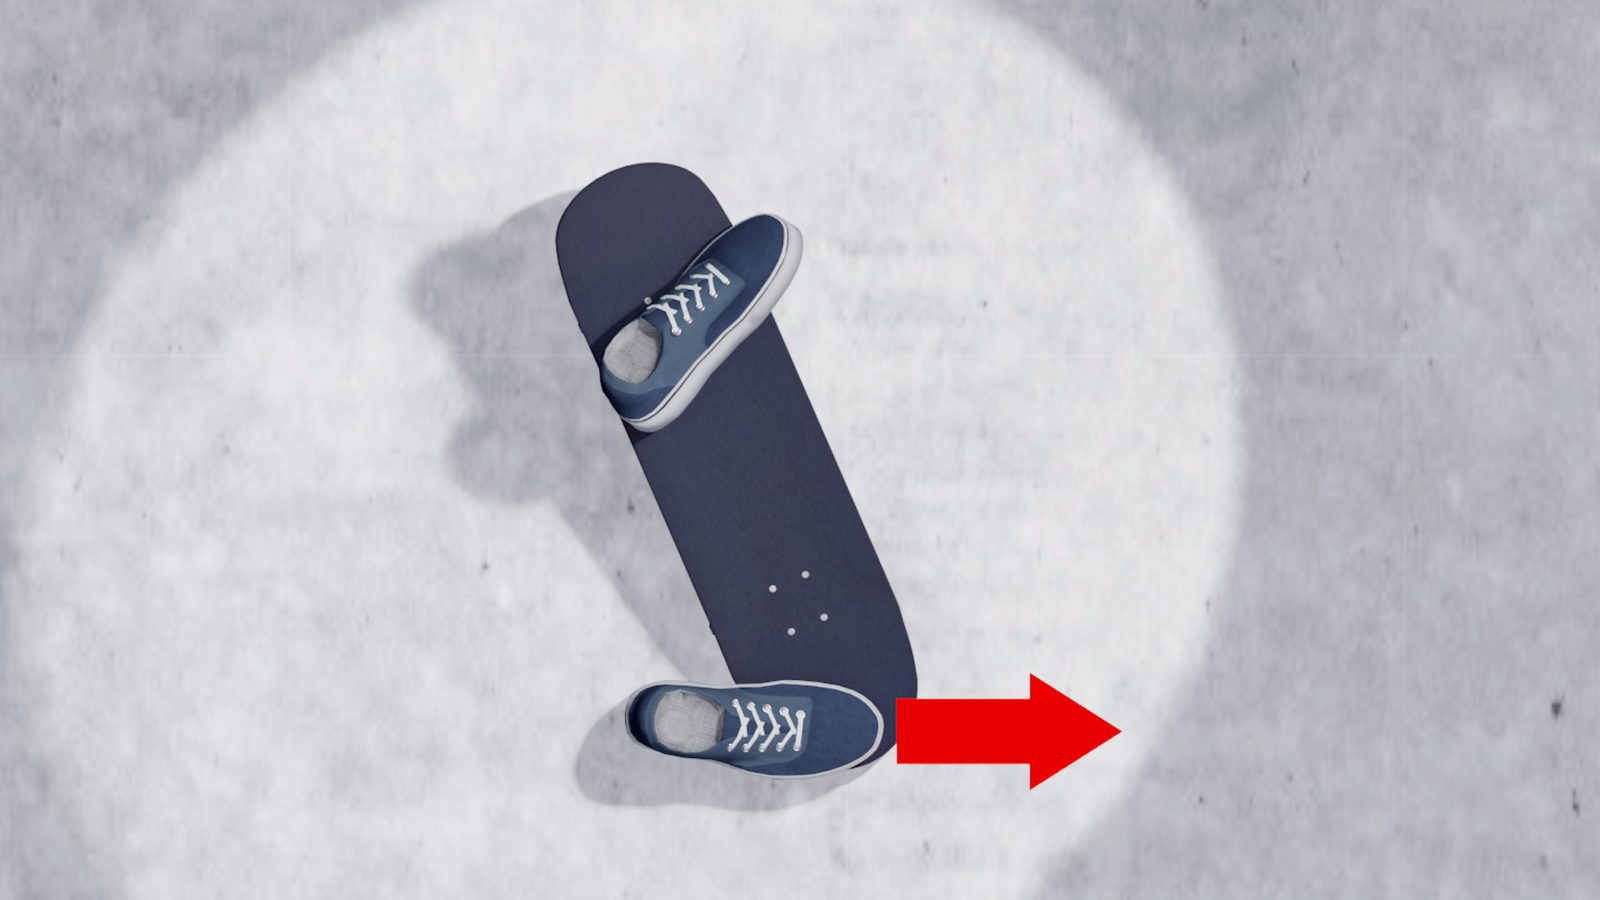
If you look at the front foot here, it is rolled, but it is NOT intentional. As you pop the tail, the nose lifts, and the front foot rolls by being pressed by the nose. So, you should keep your front foot relaxed so you can naturally transition into this state.
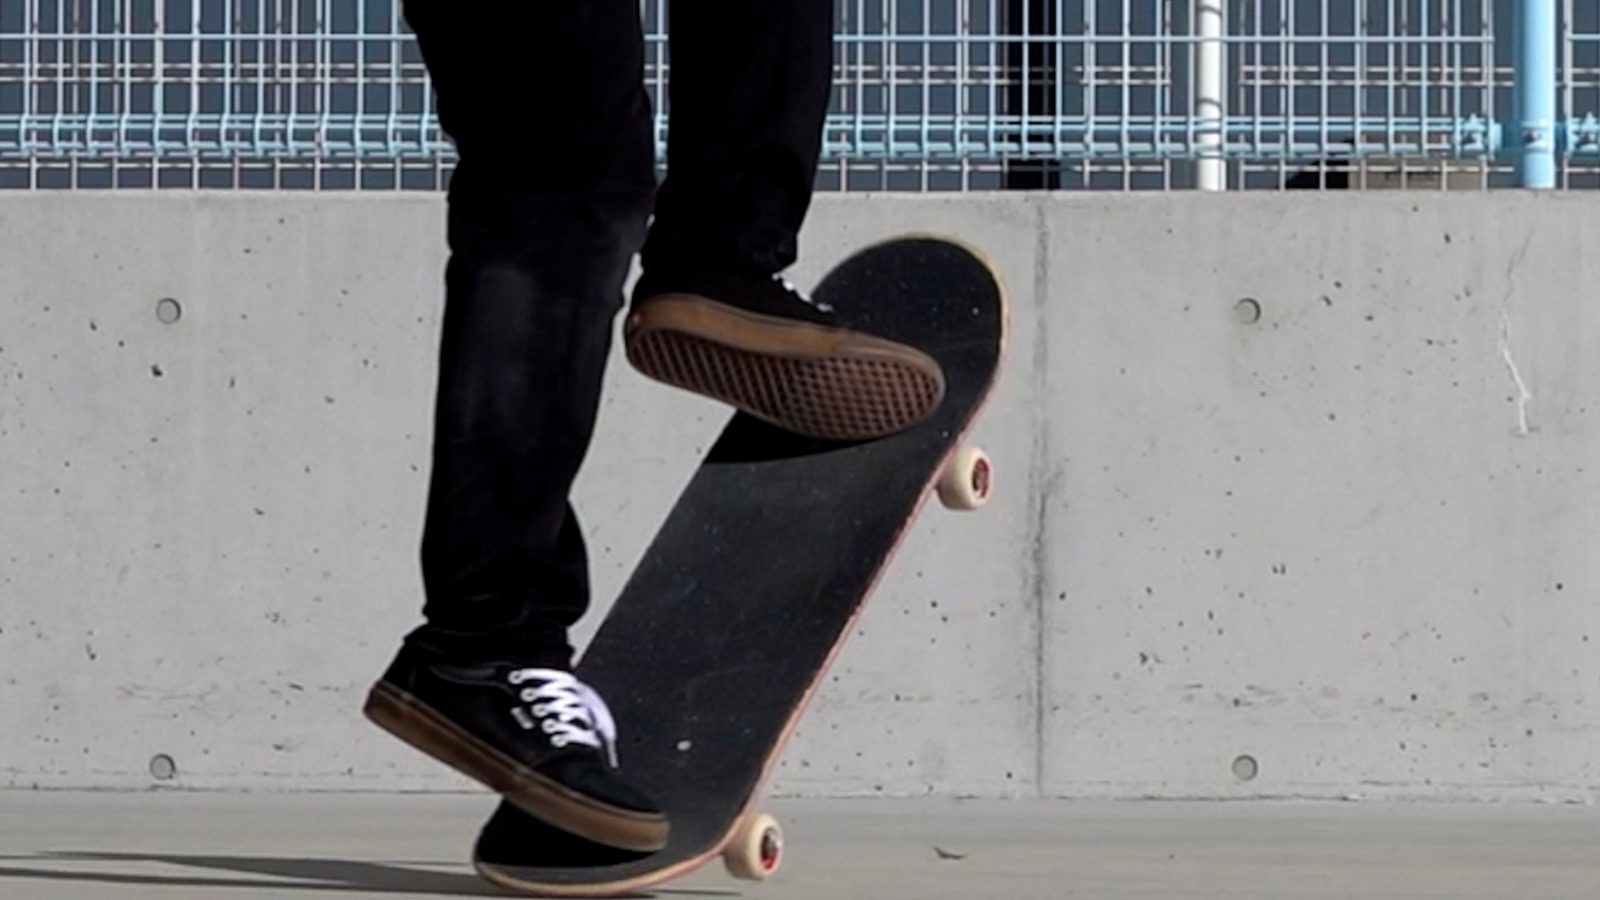
In the air, the front foot toe pulls the center of gravity of the board Frontside, which is why you should hang it out.
The body continues to rotate due to the inertia of the rotational force generated by the preceding motion, and the elasticity of the human body rotates the feet so that they align with the shoulder angle.
Physics of this type
The key in this approach is the pop of the back foot. You don't actively control your front foot, and the nose remains lifted throughout the trick. The fact that you don't have to push down your front foot simplifies the motion and makes it relatively easy for beginners to try, but be sure to pop with enough force, as the rear track tends to touch the ground first and stop the rotation.
Type #2: Enhanced Ollie
Overview
Just like an Ollie, it looks better when you can level your board in the air. Before moving on to this step, you should be able to stick out your front foot in your Ollie. This action of the front foot allows you to push the nose down and lift the tail in the air for advanced FS 180s. This is harder as it requires more advanced control of the front foot, but clean FS 180s are worth trying.
How to do it
As before, start rotating your shoulders while approaching, but keep the shoulder angle at around 60 degrees at most, as a leading motion that is too strong makes it difficult to pop the tail hard enough.
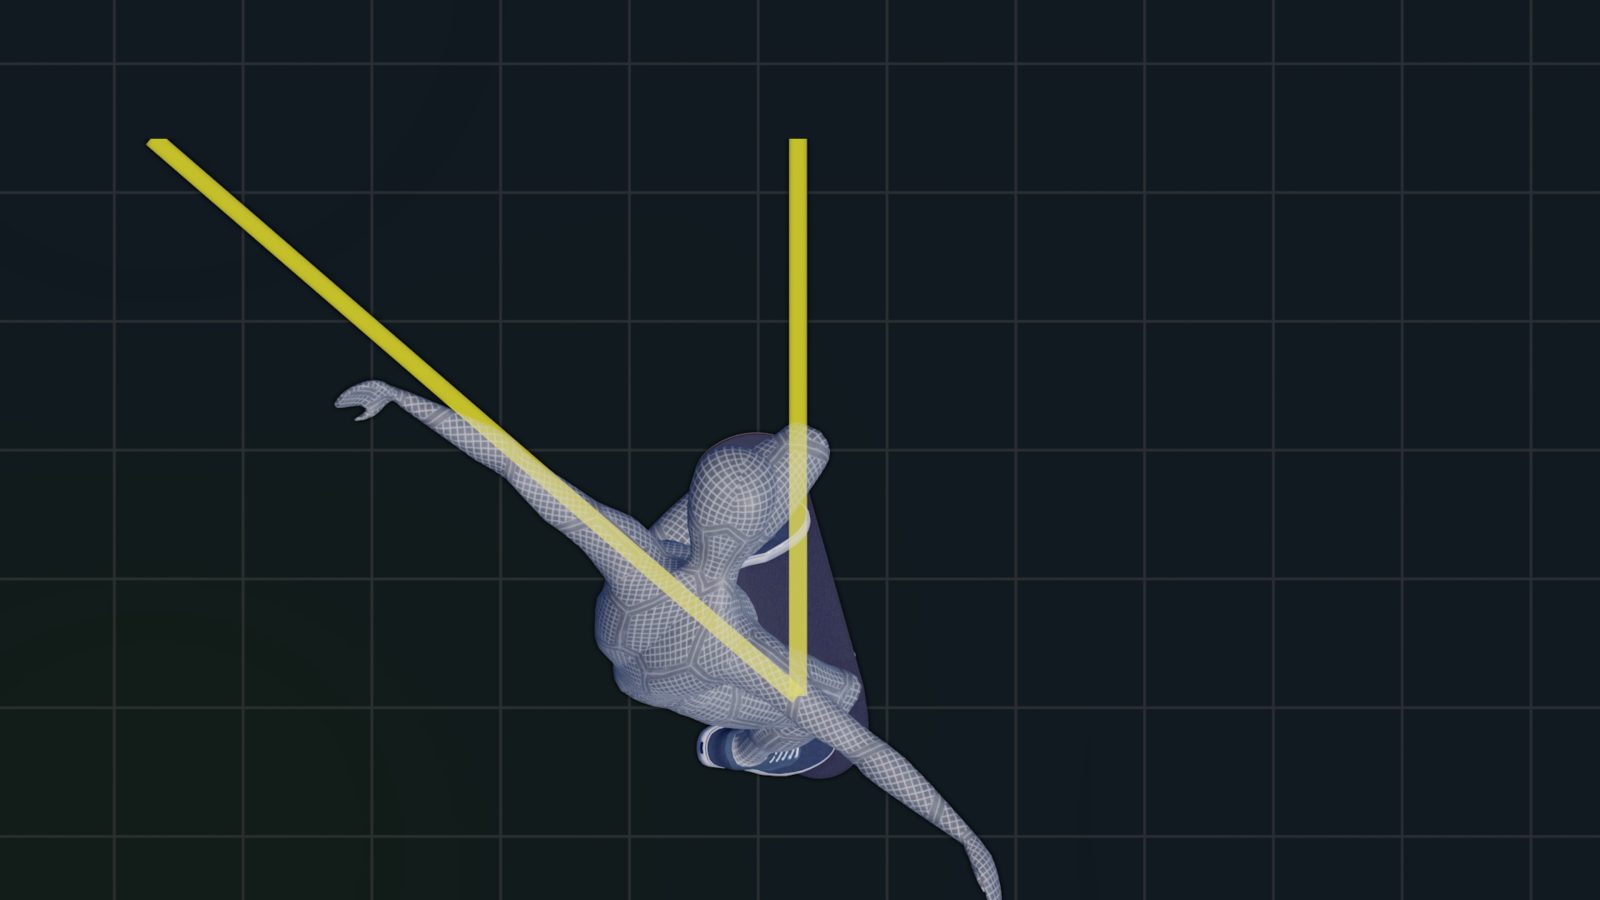
The same can be said when you jump while standing still. You can generate energy to jump most efficiently when your shoulders and feet are aligned. If you turn your shoulders to an extent, you can still jump nicely. But when you over-rotate your body, you won't be able to generate enough force to lift your body weight, let alone you will lose balance.
Lift your upper body and body weight, and pull your front foot toward your body's center of gravity.
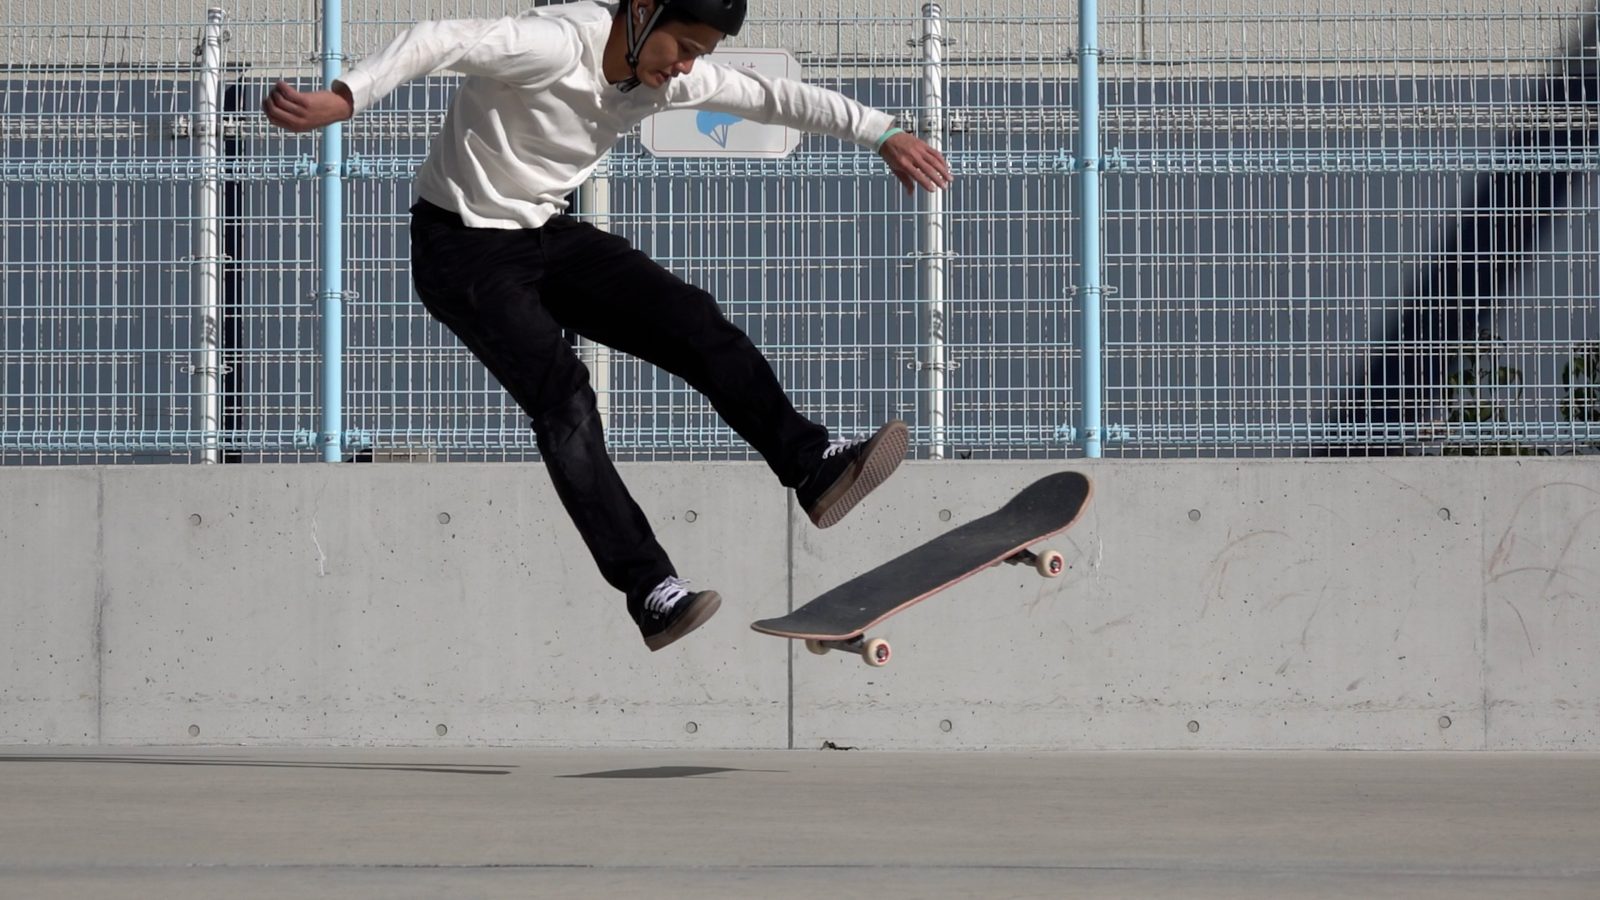
The key to this method is after the board has rotated 90 degrees. Push down your front foot diagonally toward the heel side, which is where the front foot will be later.
The nose lowers around the board's center of gravity by lowering the front foot, and the tail raises in reaction. This action is just like an Ollie, in which you stick out your front foot.
Physics of this type
Have you noticed the difference between this and the previous method? By popping the board high enough and then lowering the nose, the tail lifts, and the board levels in the air. It is different from popping and the board comes down as is. It is a result of intentionally lowering the nose. This way, it is easier to gain height, which allows you to do dynamic FS 180s.
However, it is more difficult to keep the board under the center of gravity, and you may kick out your board. It is recommended that you practice this method after getting used to doing Ollies high enough.
Type #3 Pivot And Turn the Rest
Physics of this type
Lastly, there's a way to land in the middle of a rotation and pivot to turn the rest of the way around. Let's start with the physics on this one first. Imagine what happens if a skateboard is in the middle of a turn and suddenly the front wheels stop. Since the board's center of gravity is on the opposite side of the direction of travel, the board rotates as the center of gravity continues to move around the front wheels. This method takes advantage of this physical phenomenon to rotate the board.
How to do it
Approach in the same way as before, rotating the shoulders. After popping the tail, land on the ground from the front foot first. Use your back foot to send the tail forward to complete the rotation.
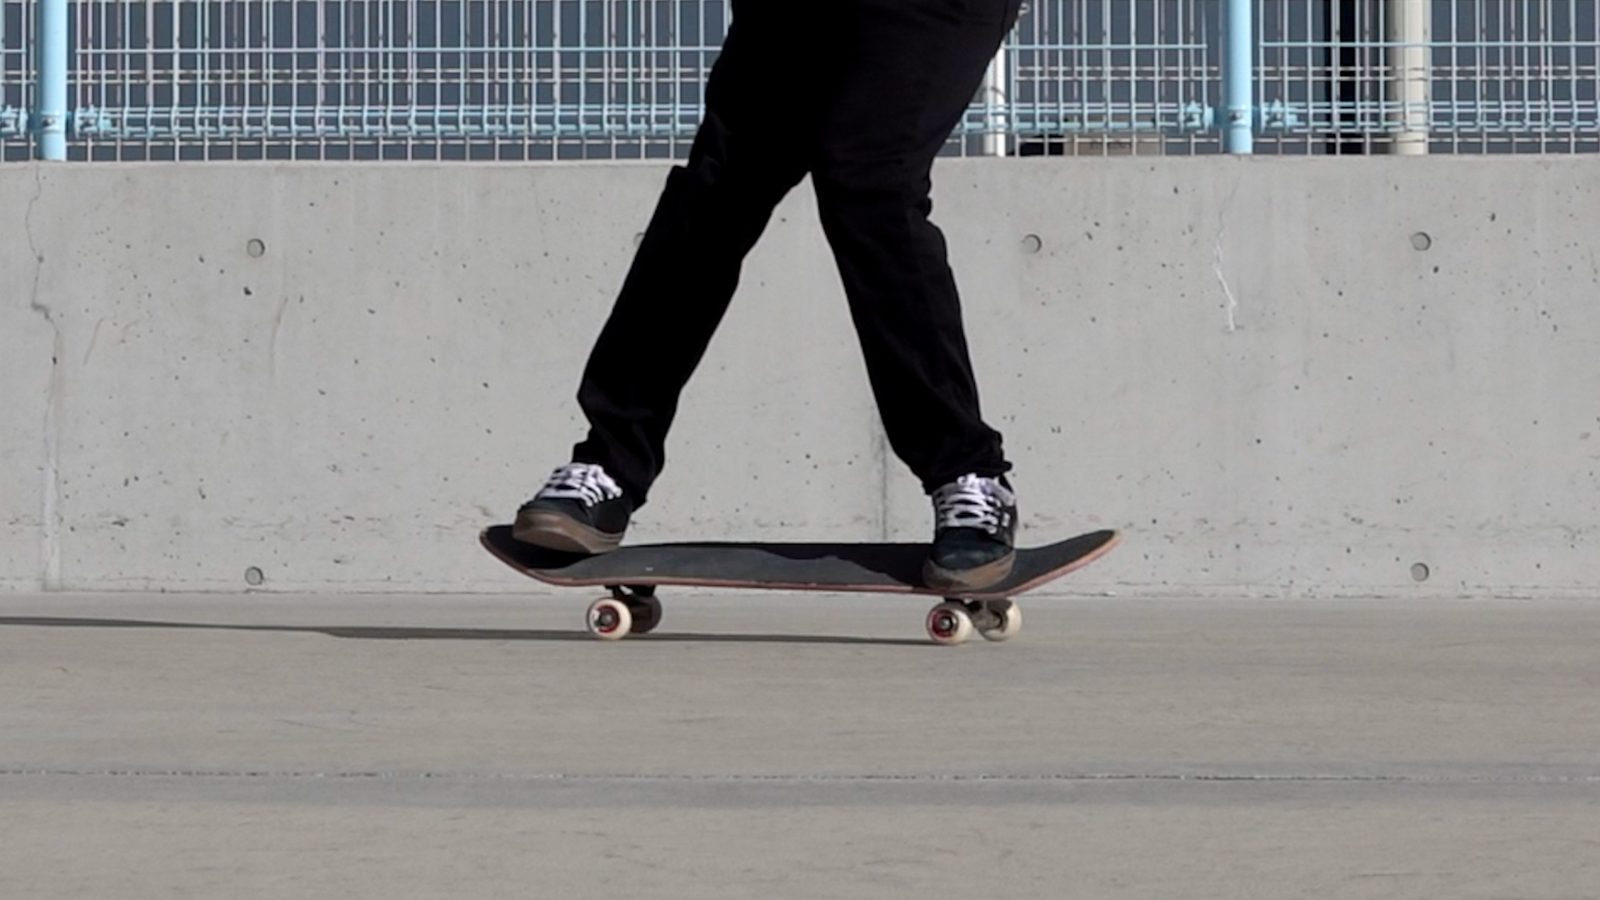
If you look closely, you can see that the front foot is on the truck and not on the nose. It is often misunderstood that you should place your front foot over the nose like in the endwalk, but it does not have to be over the nose to pivot the board.
Let's consider this from a physical point of view again. In order for the board to pivot, of course, the weight must not be on the side that you slide. However, you don't have to lift the truck on the side that you slide so high in the air.
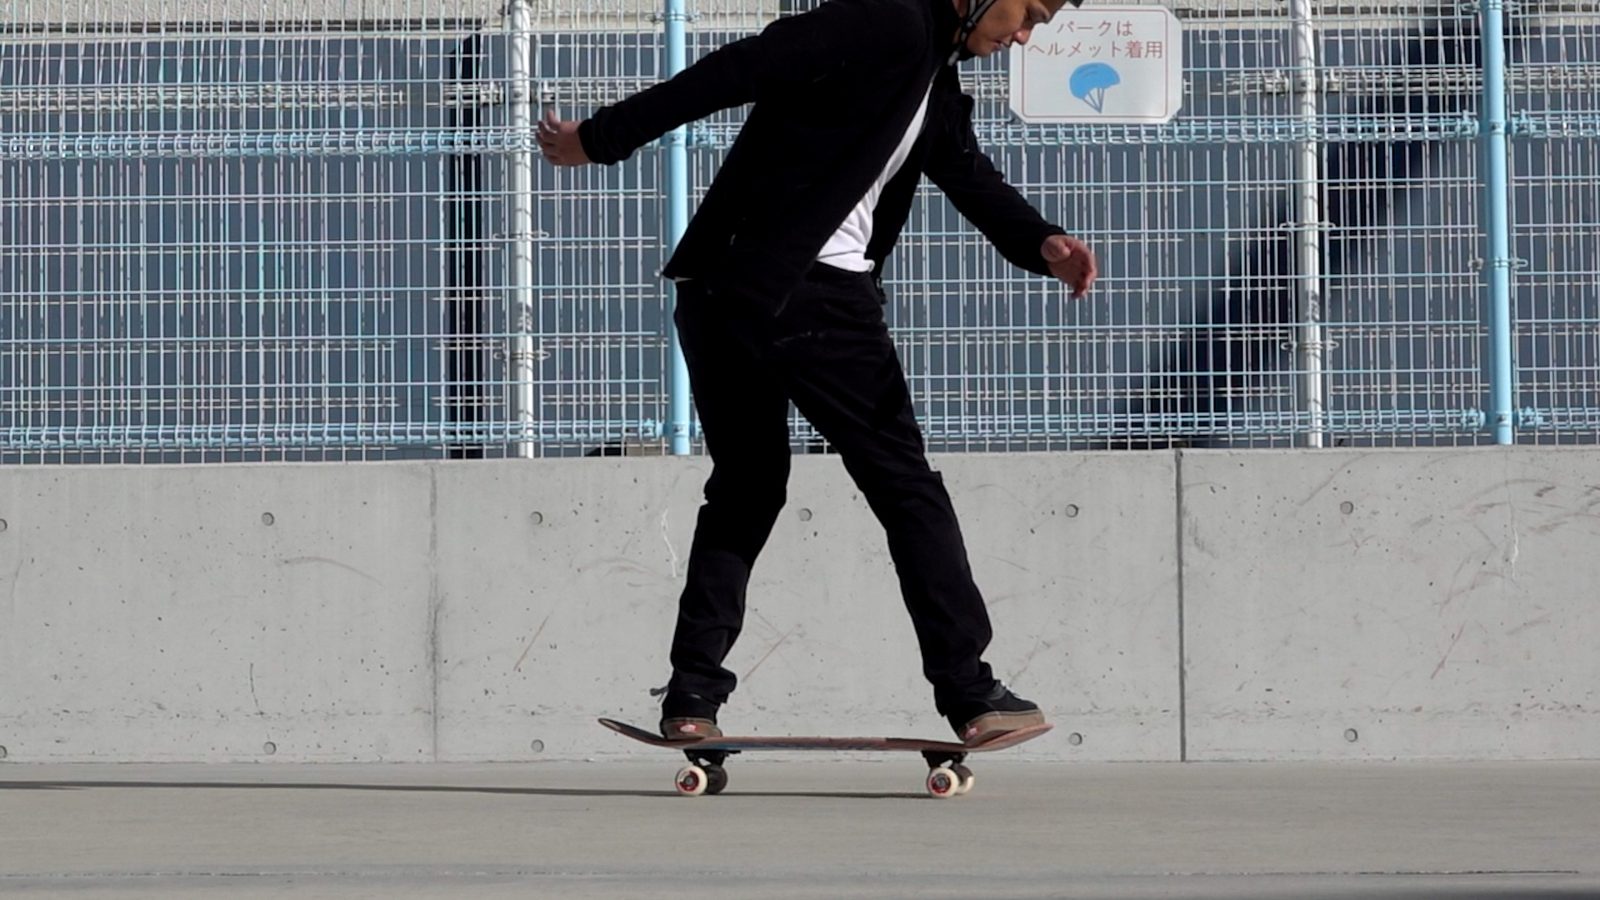
This is because while standing on the board, the weight distributes evenly over both trucks, but by leaning on one side, the pressure exerted by the weight can be reduced to the point where you can slide it sufficiently. In other words, if the truck had to float to pivot, then would it be even possible to do any ground-sliding tricks, such as power slides? The fact that you can slide your board even if the wheels are in contact with the ground is exactly the same thing in this method.
However, if you pop high, the pressure on the wheels gets higher, making it more difficult to slide. So, if you pop high, you need to lean more on the nose and completely remove the friction between the rear wheels and the ground. At first, pop as low as possible and concentrate on completing the rotation.
Finally, a common issue with FS 180s is the fear that accompanies the landing in the switch stance. In order to get used to this feeling, practice end-walks, end-overs, and switch tick-tacks. This will surely ease your fear.


 Convert your video into 3D
 Facebook
 Twitter

