Backside Noseslides. You may often get stuck, even though you've waxed the ledge enough. In fact, there's a mechanism that the more you try to slide, the more resistance you get. Let's see why.
Summary
Push the board forward, but avoid overextending the knee
In a Backside Noseslide, there is always significant friction between your shoes, the board, and the ledge. To slide long, you must counter this resistance by pulling your hips back and pushing the board forward. Avoid overextending your front knee—keep it bent—because if it straightens too much, the board will shoot out.
Rotate the board then land, NOT the other way around
When your knee is straight, you end up pressing the board harder into the ledge, which increases friction. Even after locking in, your weight remains on your heels, keeping constant braking pressure. Instead of rotating the board after you land on it, focus on rotating the board first, then landing on it to minimize resistance.
Keep your Ollie height to a minimum
In most cases, when the tail is on the ground, the nose is already above the ledge. If you pop too high, you'll create unnecessary friction when locking in, making the slide harder to sustain. So keep your Ollie light and low depending on the height of the ledge.
Front–Back Position: The Problem of Straight Knees
During a slide, resistance occurs between the top of the ledge and the nose or sole of your shoe, and the side of the ledge and the wheels. Because of this, if you stand directly above your board, the nose can get stuck, and your body is thrown forward. You can fix this by shifting your center of gravity slightly backward and pushing the nose forward.
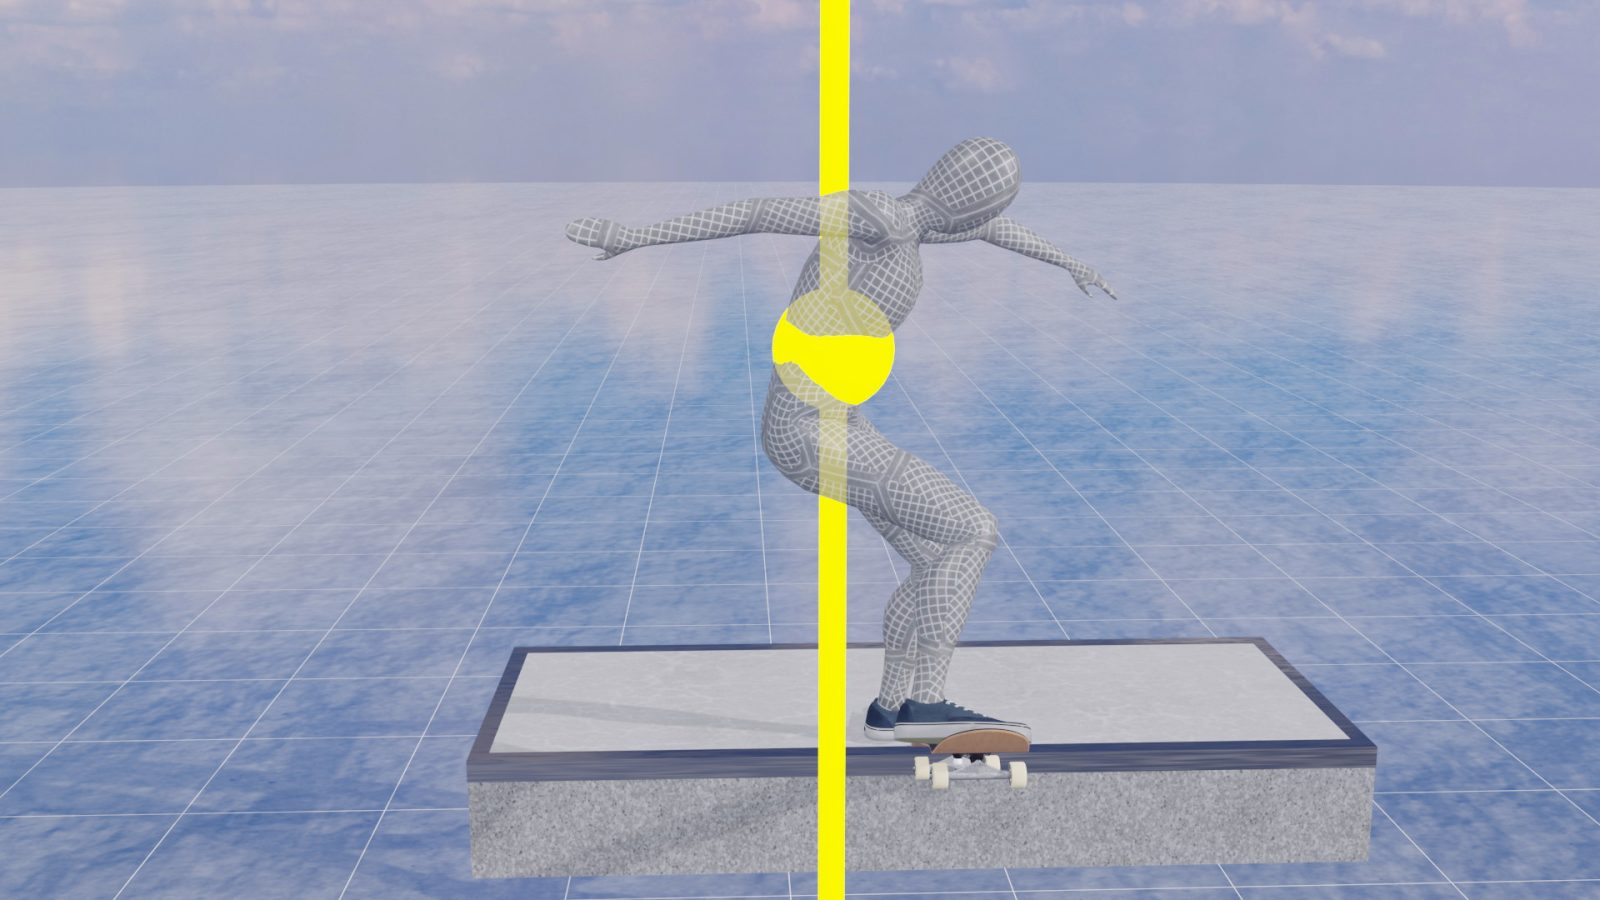
However, you must pay close attention to your knee angle. You can pull your hips back, whether your knees are bent or straight, but when the knees straighten too much, the force pushing the nose forward becomes too big, causing the board to shoot out. In a Backside Noseslide, the front knee can easily straighten too much as you may often aim too far. If you do so, you will have to push your board into the ledge to increase its angle up to 90 degrees, like a Slappy Noseslide. The problem is that the harder you press, the more friction builds up between the board, the shoe, and the ledge.

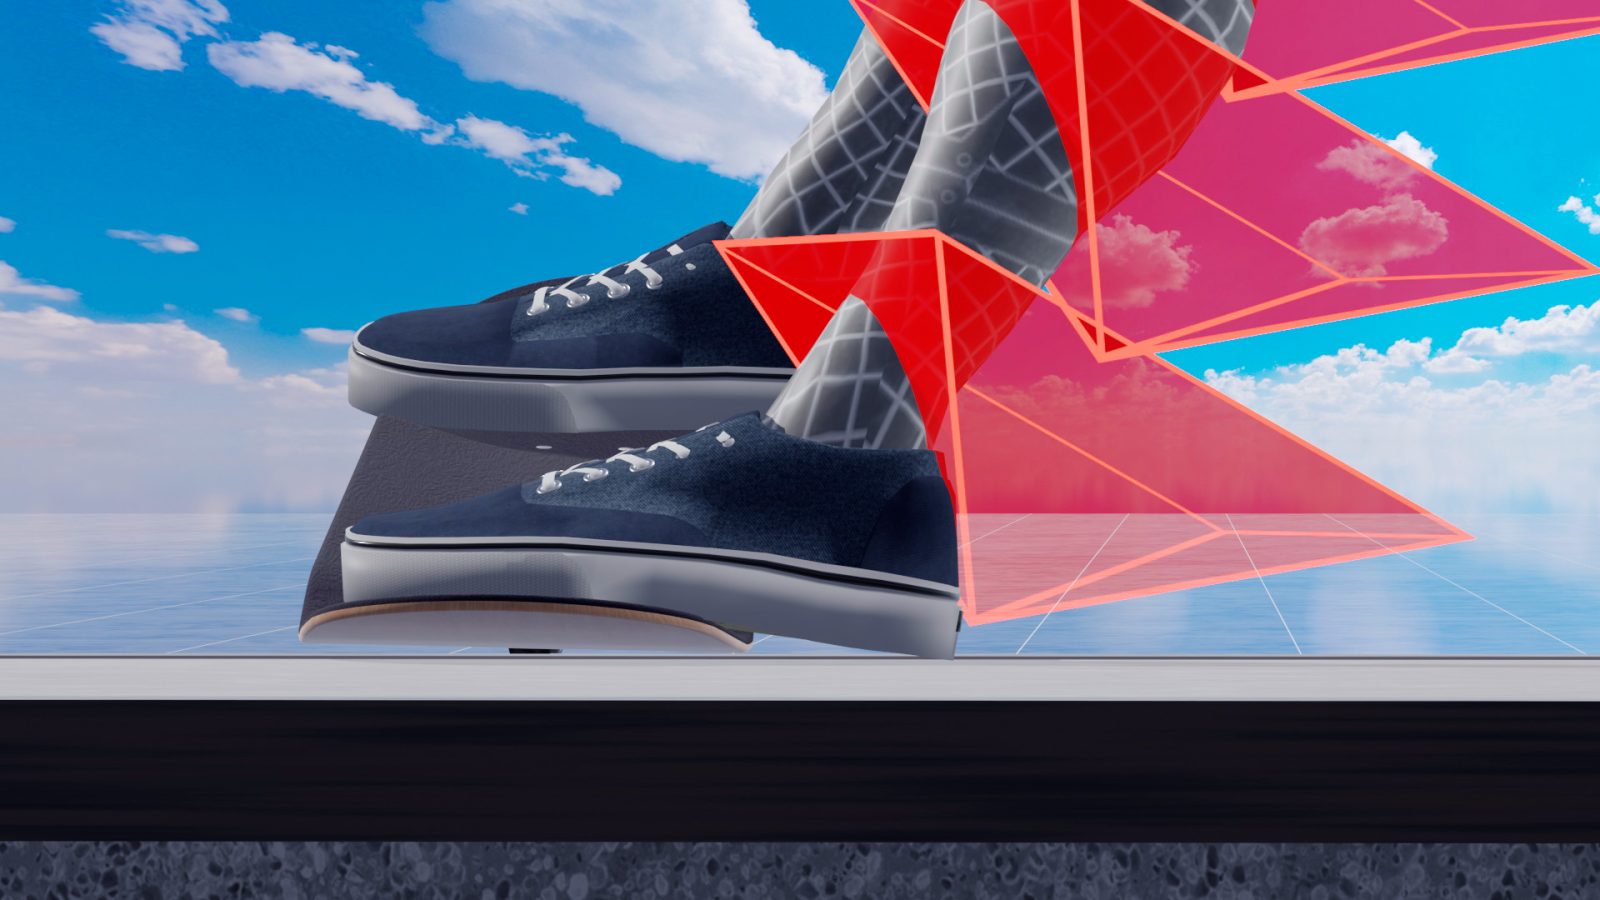
When your front knee is bent, pressure is widely distributed across the sole. But when it straightens, the force concentrates on the heel, which usually extends past the nose, increasing friction against the top of the ledge. In other words, while it is true that you need to push the board forward to overcome resistance, extending the knee too far creates unnecessary friction and slows you down. And that's why the board doesn't slide as much as expected, even with a good amount of wax. Moreover, with the straight knee, you can't pop or press down on the nose effectively, leaving you the only option to get off the ledge by slipping off.
Front–Back Position: The Solution
Instead of "land on the nose then rotate," aim to "rotate first then land." As you open your shoulders, pop an Ollie without rotating the board—this twist is crucial. Since your body has already rotated, your front foot naturally tries to return to its original position after lifting, relieving that twist. This motion allows you to bring the nose onto the ledge by lowering your front.
Keep in mind that this motion is not the same as a Frontside 180. In a Frontside 180, the body and board spin together. If you do that in a Backside Noseslide, you will either over-rotate or get on the ledge. Also, if you can't help coming off in Fakie, consider this possibility. In short, in a Frontside 180, the board and body rotate together during ascent. But in a BS Noseslide, only the body rotates first, and your front foot follows while guiding the board as it descends.
Side-to-Side Position
To achieve a long slide, your head, front foot, and the edge of the ledge must be close together. Timing becomes critical. If you pop too far from the ledge, you'll have to extend your knee again to get the nose onto the ledge. Then, your weight ends up being too far off the ledge, preventing a stable slide.
Conversely, if you pop too close, the front wheels end up landing on the ledge.
Even before locking in, always stay aware of the direction of the ledge. I always try to have a sort of mini-map in my head. Adjust how much you jump toward the ledge depending on its angle.

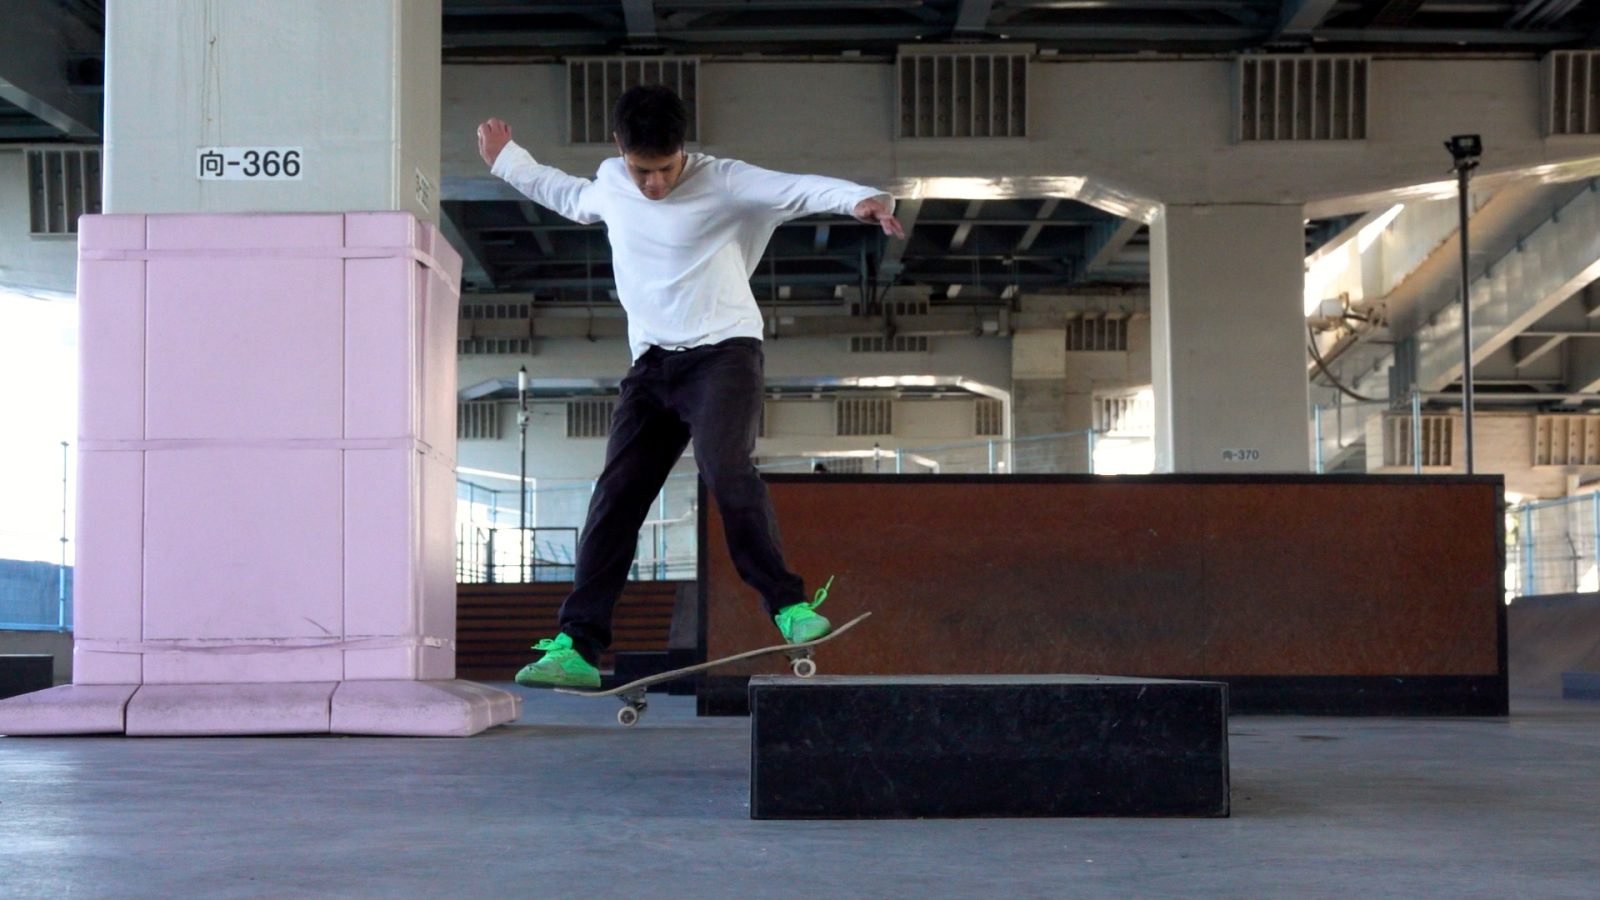
How to practice
Next, let's see the practice steps. Try Nose Stalls first, and get used to the feeling of holding your weight on the nose. You could gradually decrease the approach angle from 90 degrees, but I personally don't like it, as it makes it easier for me to overshoot my board on the ledge. I recommend approaching the ledge at a parallel angle, no matter how slow it is.
Pop an Ollie from about two decks away while opening your shoulders, then land your front foot to lock the nose on the ledge. Aim to place the board close to your body to avoid overextending your knee. Try to keep it bent as you set the board down, and adjust how much you push the nose forward based on your approach speed and ledge material.
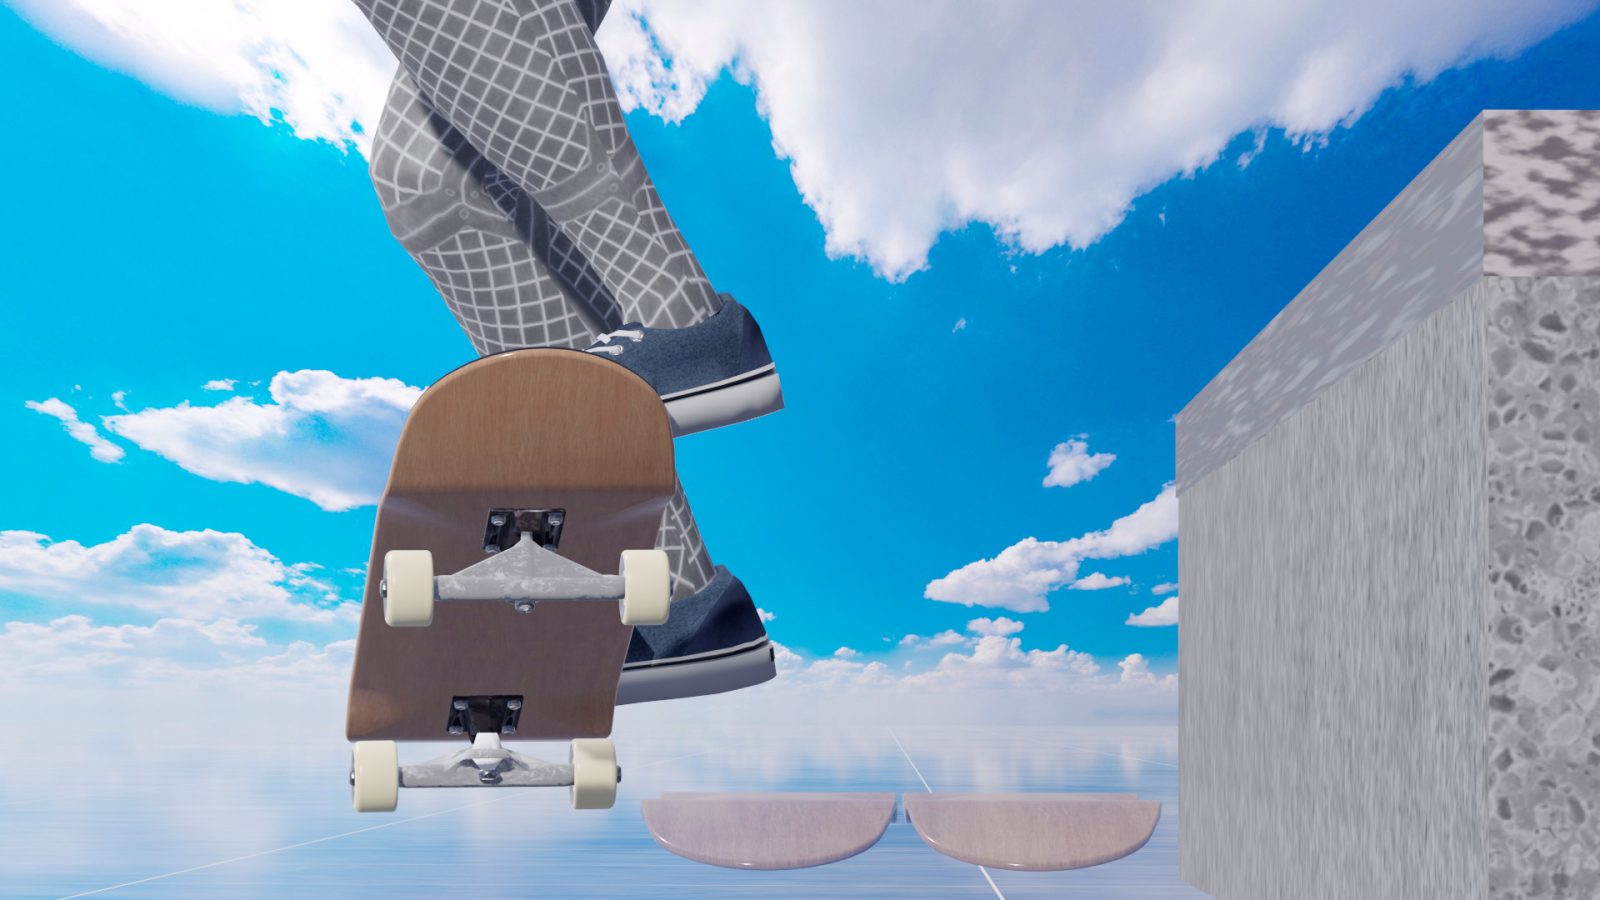
Also, avoid Ollieing too high or using ledges that are too low. When the tail is on the ground, the nose is often already above the ledge. If you bring it even higher by popping a high Ollie, you will end up increasing the friction between the board and the ledge. So, choose a ledge that has a decent height.
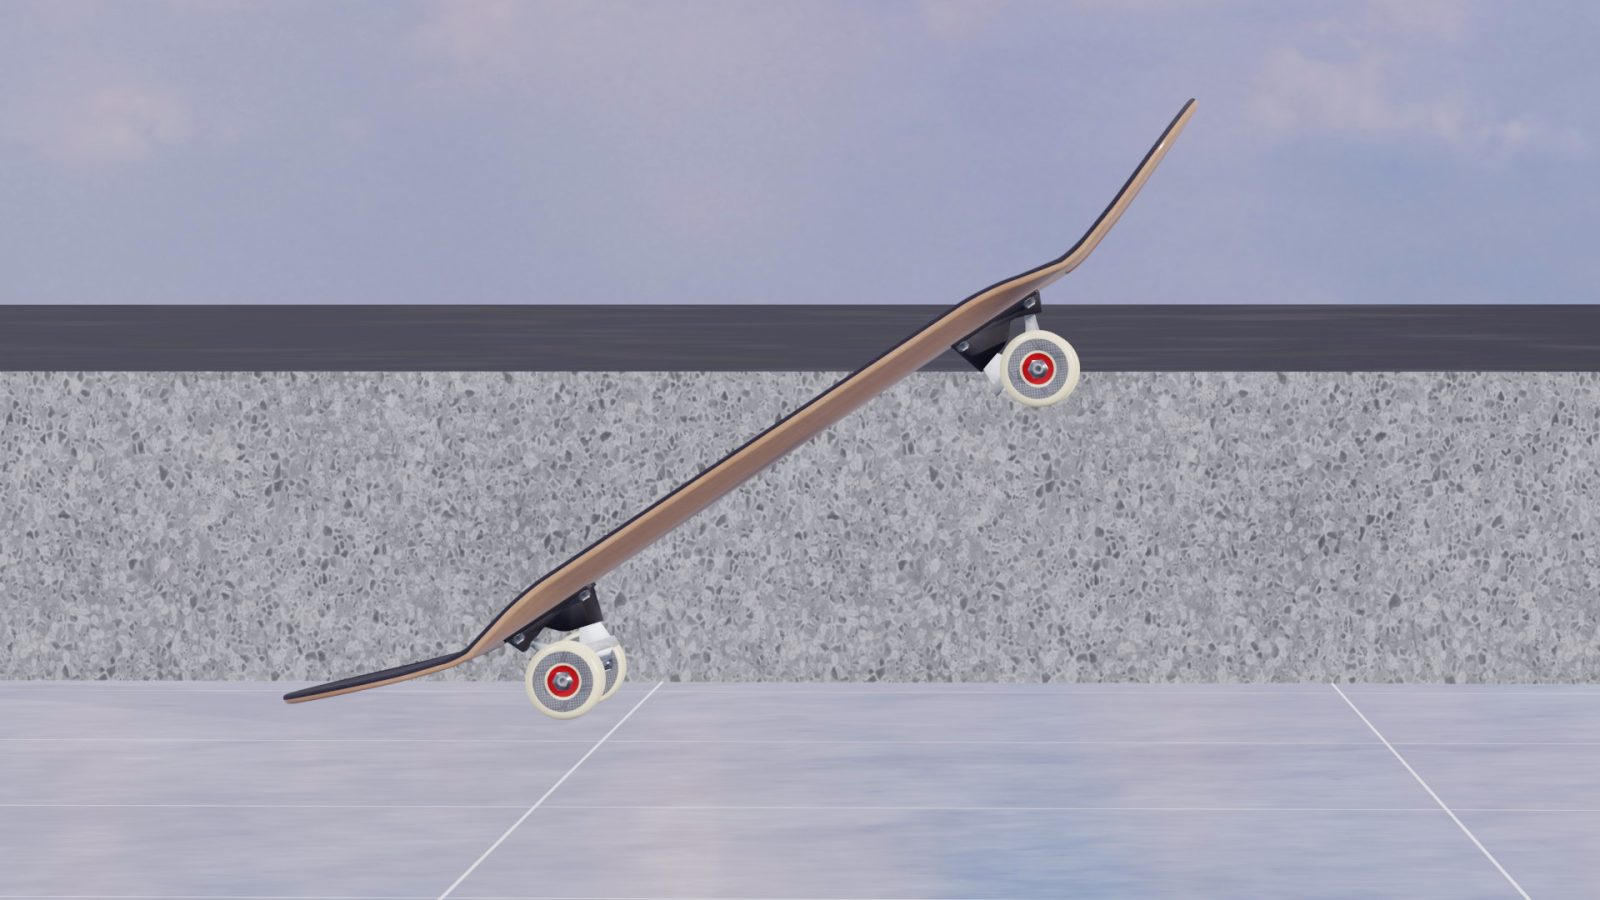
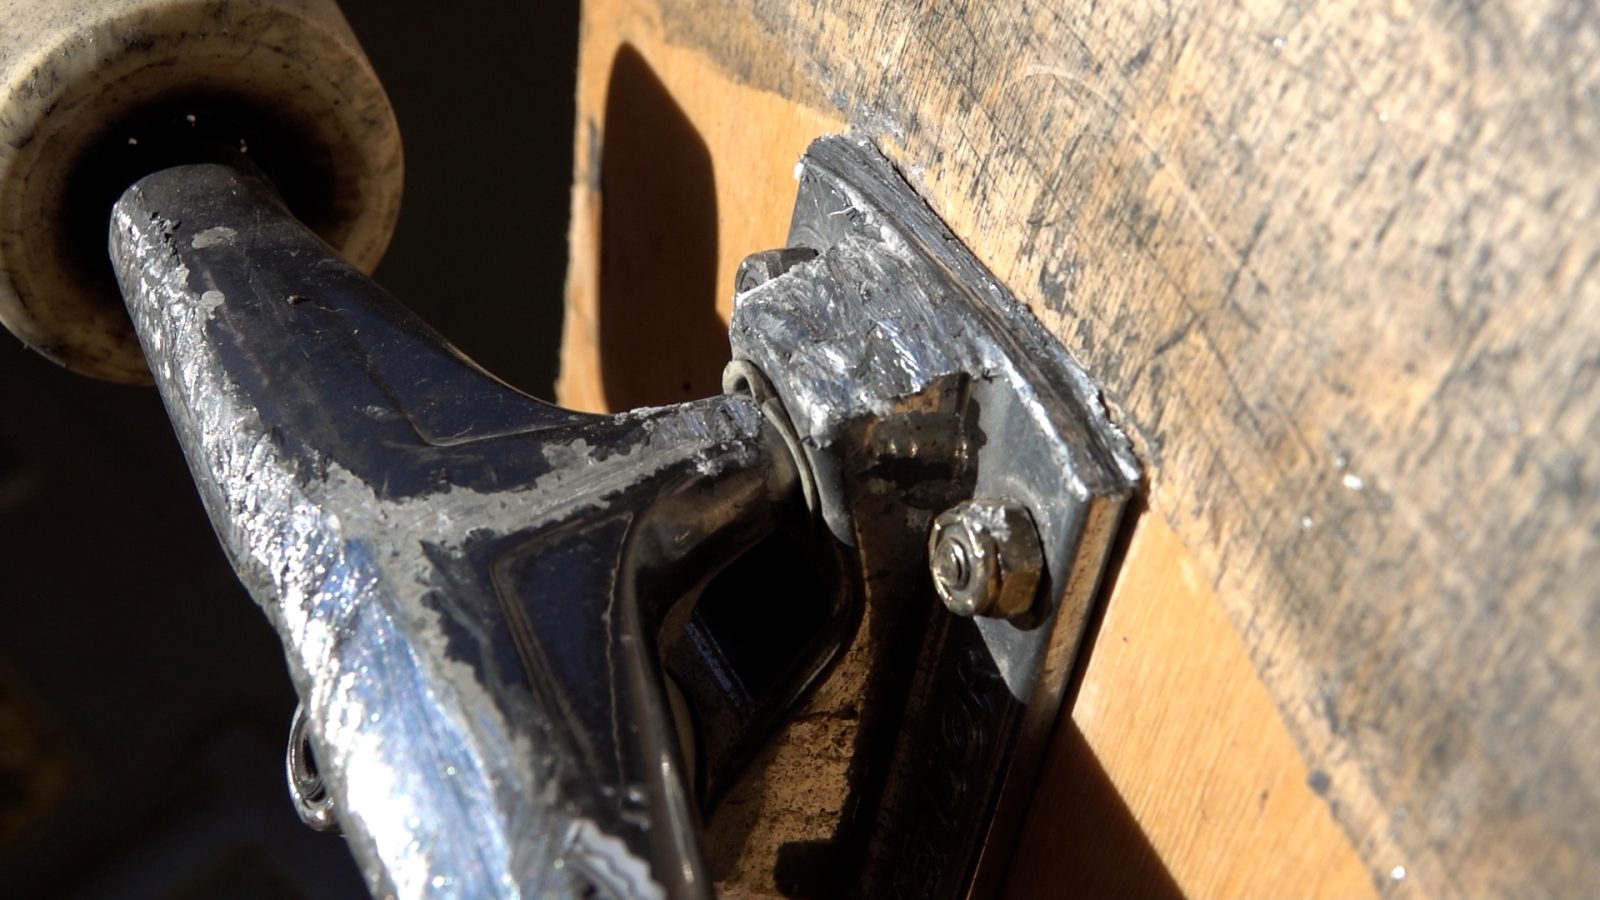
If you can't help getting stuck, try waxing the side of the base plate. If you look closely, you can see that the wheels often don't even touch the ledge. And in my case, this part wears out really quickly, and waxing it helps me slide much more smoothly.