Summary
30 to 40 degrees of approach angle
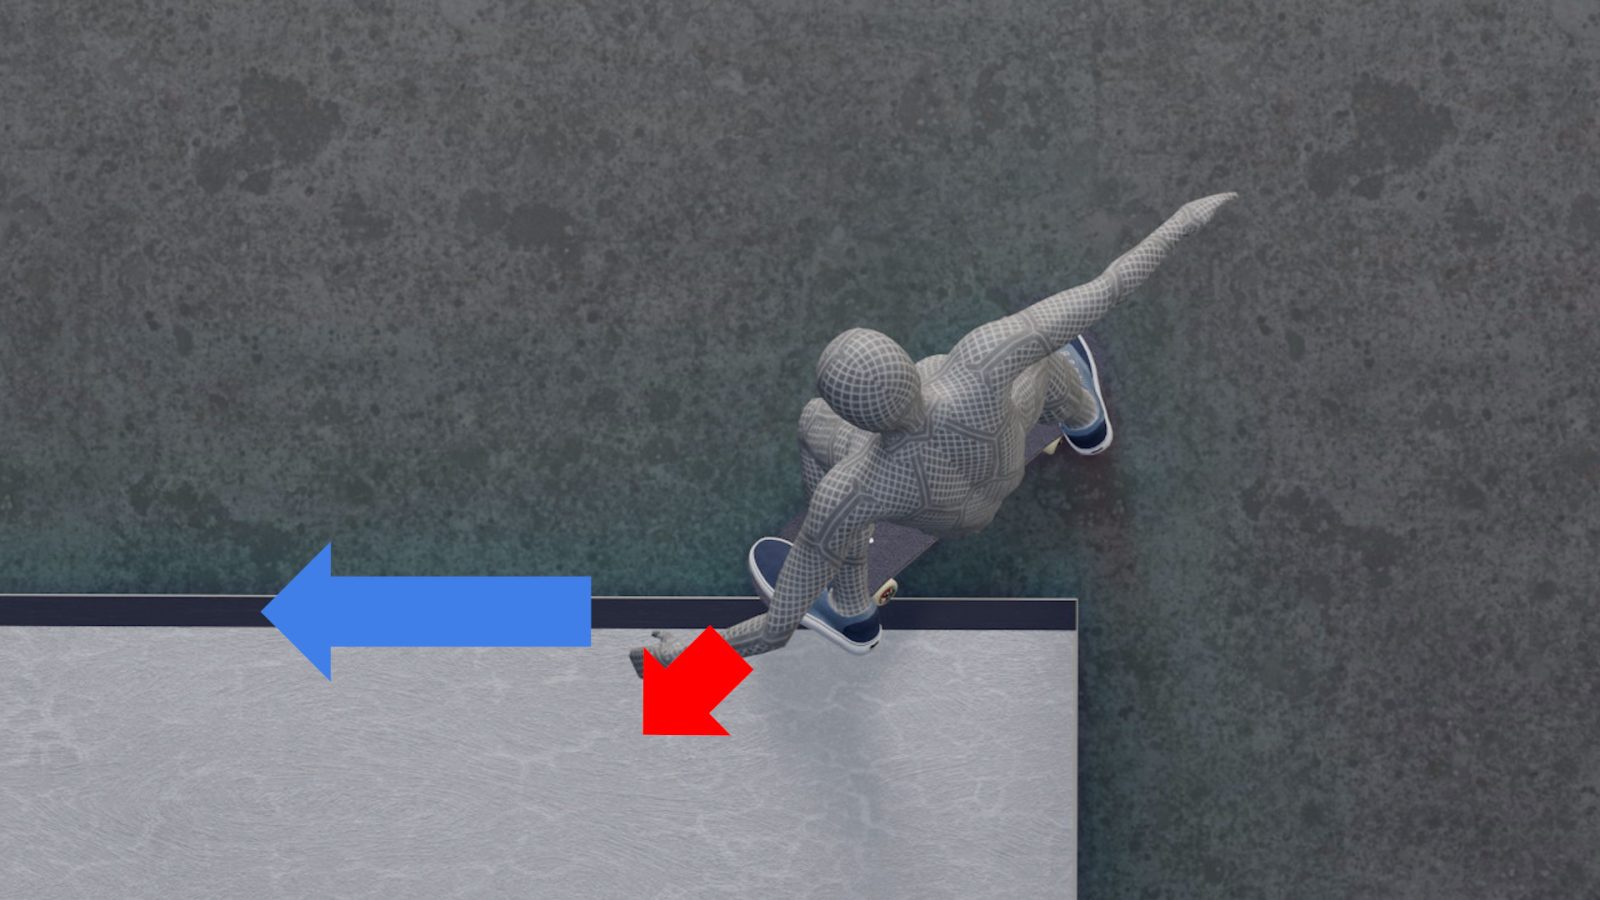
Make sure to get enough angle when you lock in. This angle slows your board's horizontal movement in the direction of the approach upon locking in. At the same time, your body continues going in the same direction. This difference between the speed of the board and the body allows you to shift your weight on the nose more efficiently.
Put your weight on the toe side of the nose upon locking in
As you approach at a big angle, your body tries to ride up the obstacle upon locking in. Hanging the toe side wheels on the coping allows your body to use the wheels as a pivot point and brings your weight upon the coping.
Simulation
Hit the icon to initiate 3d simulation.
NOTE: We've found some parts of the model disappears when you get close to the model. Please give us some time to fix this issue.
About this article
Benefits of this trick: Endless options
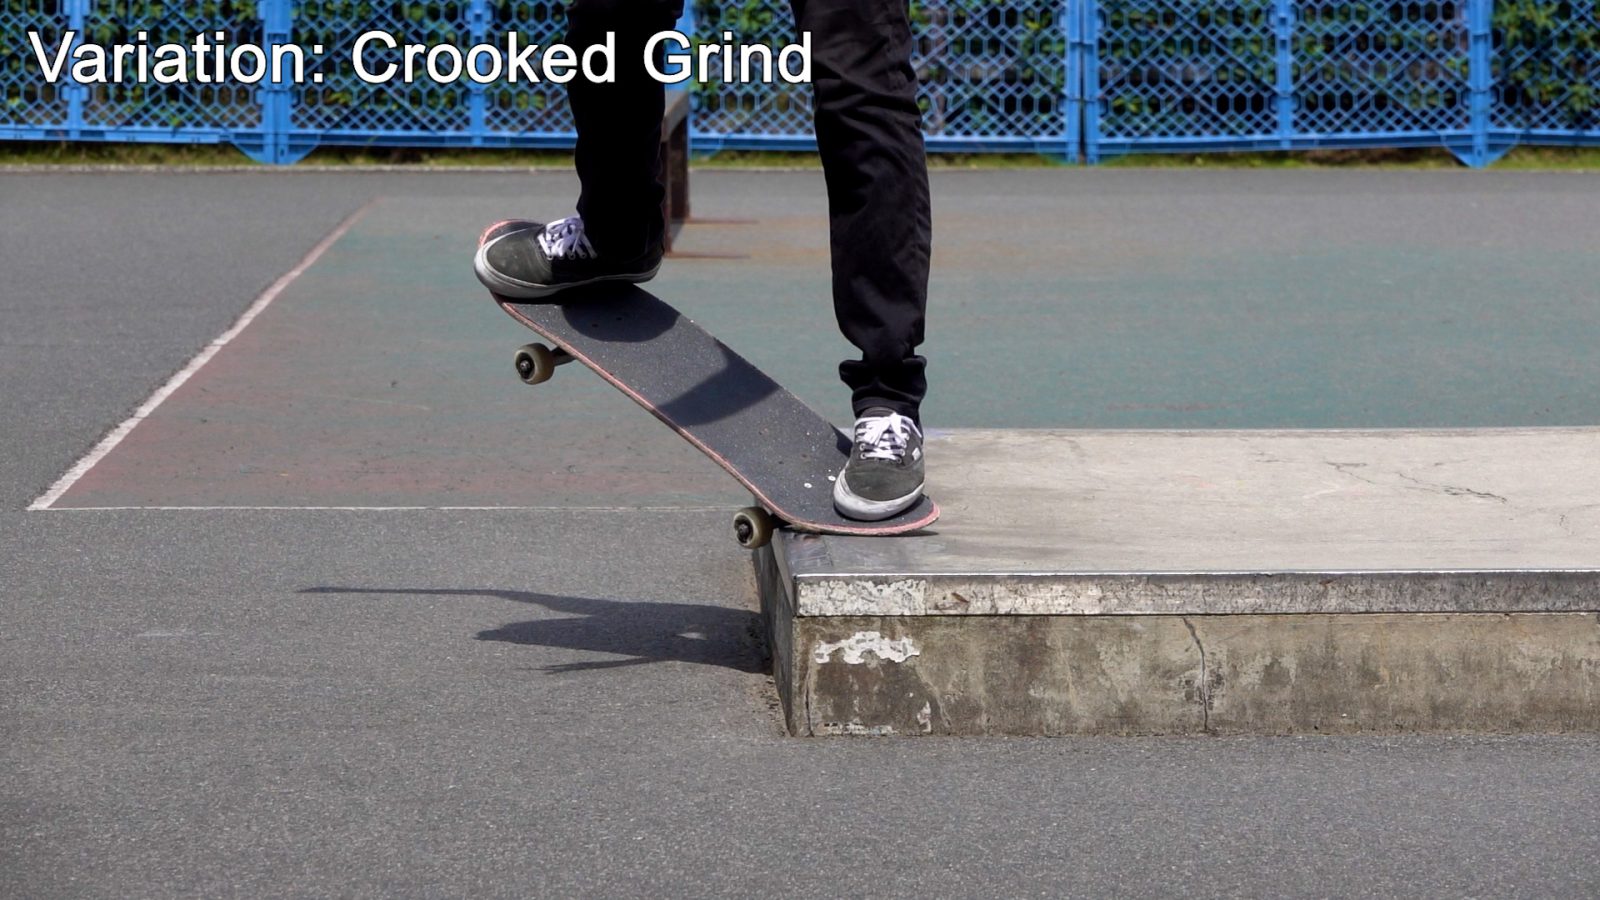
Please refer to the video for the details. If you push the nose more, it becomes a crooked grind. Or wheelie grind if you keep the tail low. Keep your weight on the nose and it becomes a nose grind. Add a twist and combine it with a tailslide. Nollie Shove-it-out comes in easily as your front foot is already on the nose. And the front side, which I think is way harder than the backside so I recommend practicing backside first.
Target audience of this content: Old or tired skaters
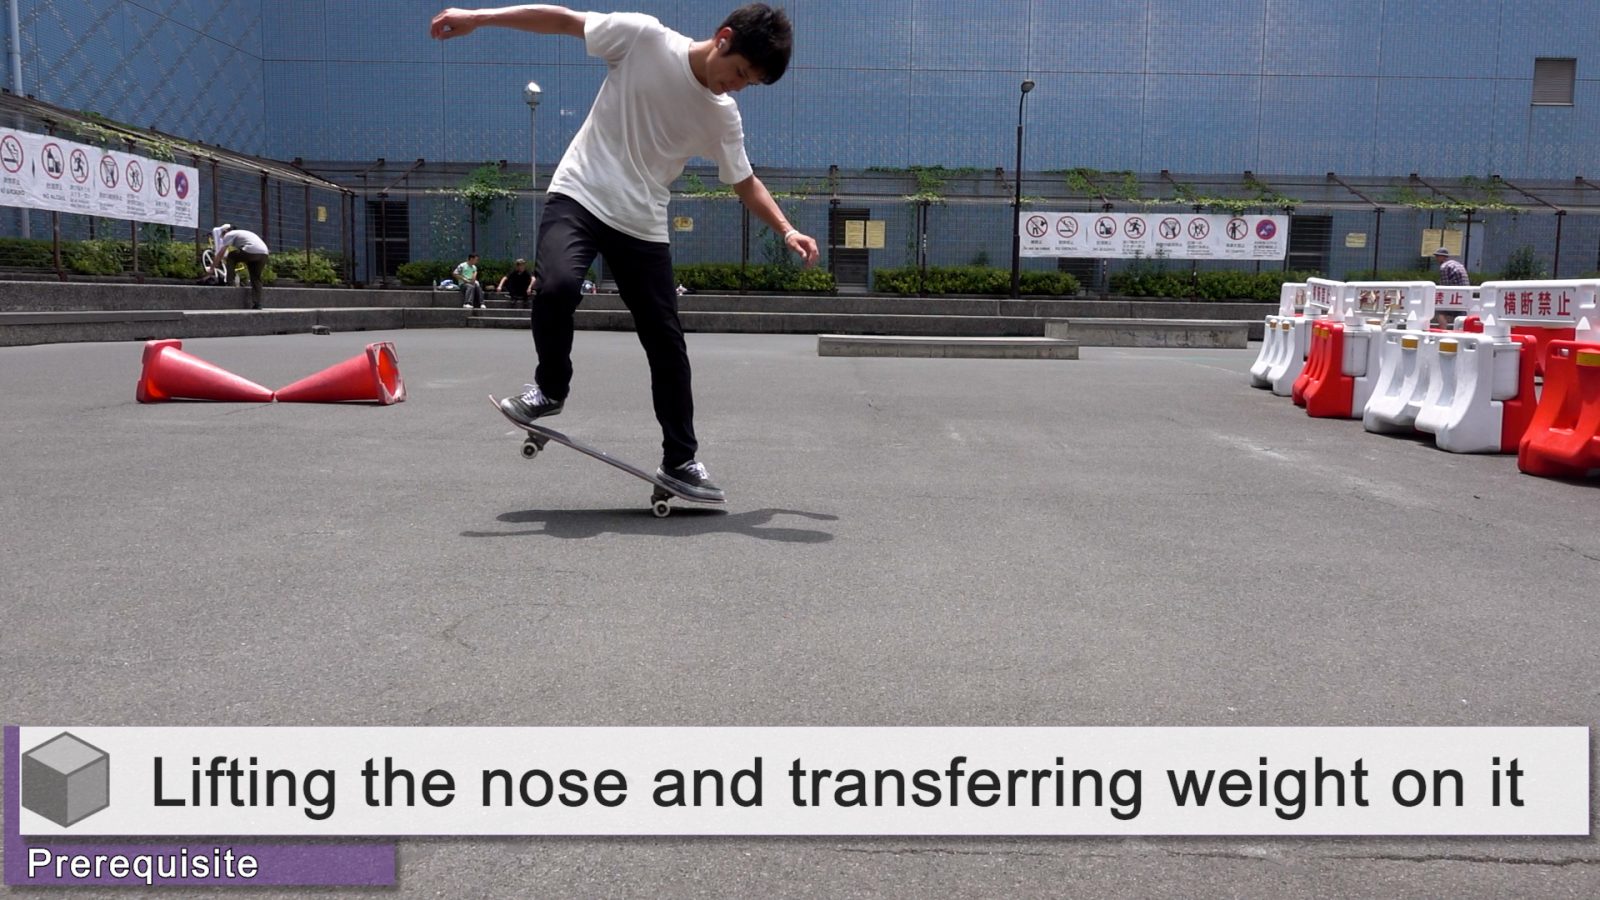
This trick is for those who are tired or old. You will see what it feels like when your 35 is right in front of you. This trick requires only one skill; lifting the nose and transferring your weight on it as you descend. You can lock in on a wide range of obstacles as long as the nose can reach the top of it by stepping on the tail. And it does not require a curb with slanted sides and is lower than the nose, as is often seen in Slappy tutorials.
Approach
When you Ollie into it
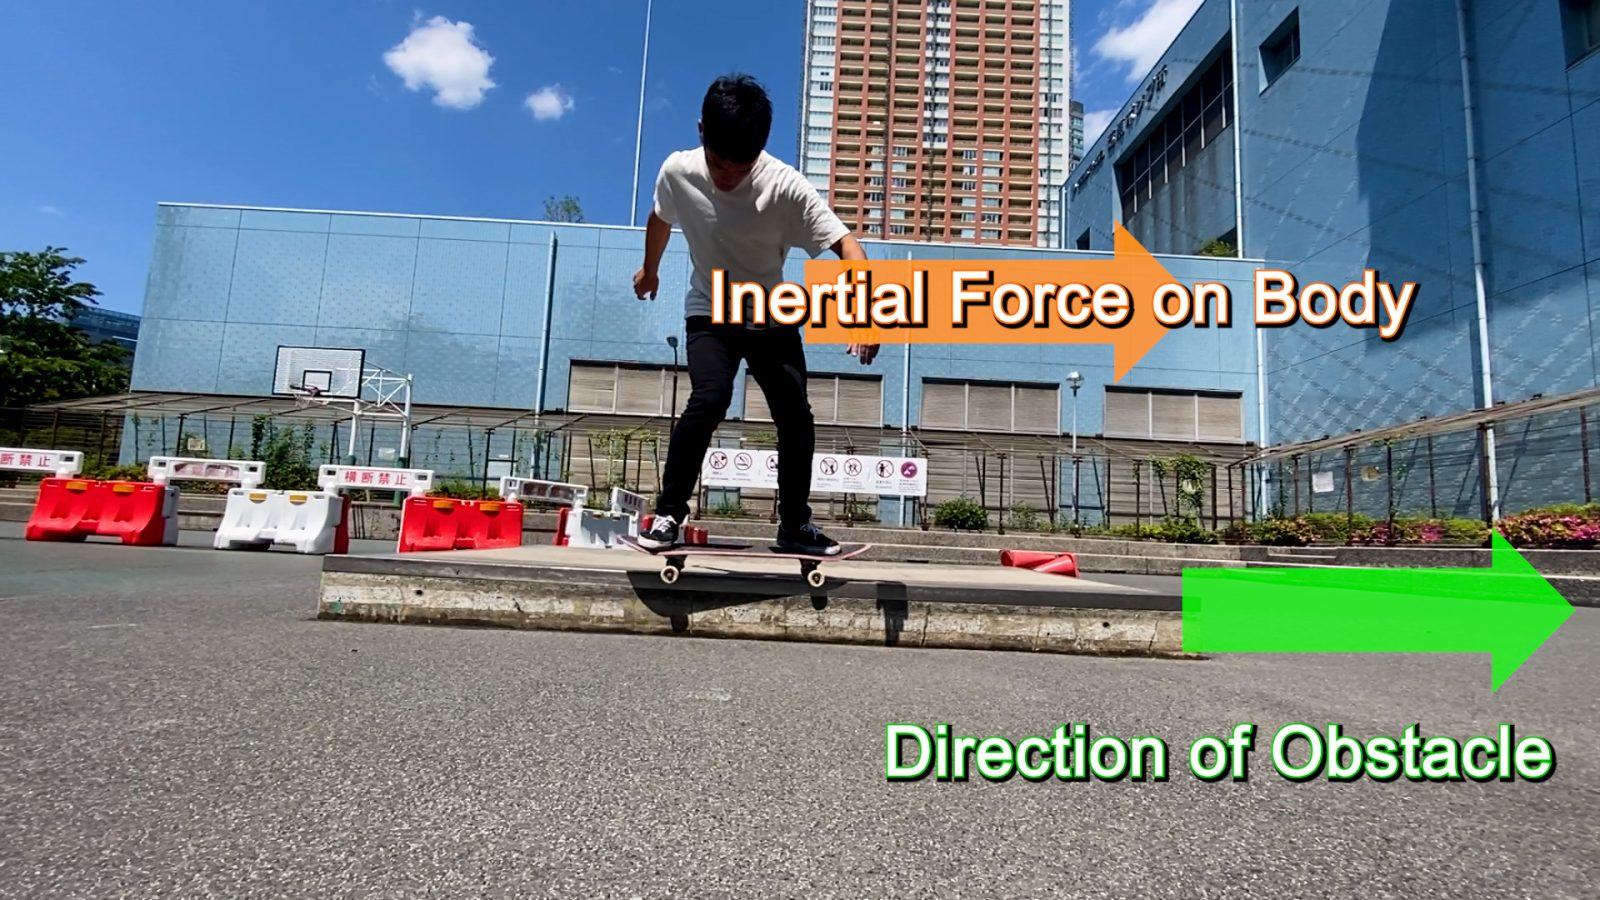
Let's compare a Slappy grind's approach with a 50-50 grind that you Ollie. When you Ollie in, the approach angle is much closer to parallel to the obstacle. You can continue grinding if the inertial force acting on your body parallels the obstacle after locking in.
In the "Nose Lift Slappy"
In the case of Slappy, you should secure around 30 to 40 degrees of an angle when you lock-in. You may approach parallel to the obstacle when you are still distanced from it. Just before locking in, turn to get the angle you need.

Preparation for locking in
How a big angle helps you transfer your weight effectively part 1
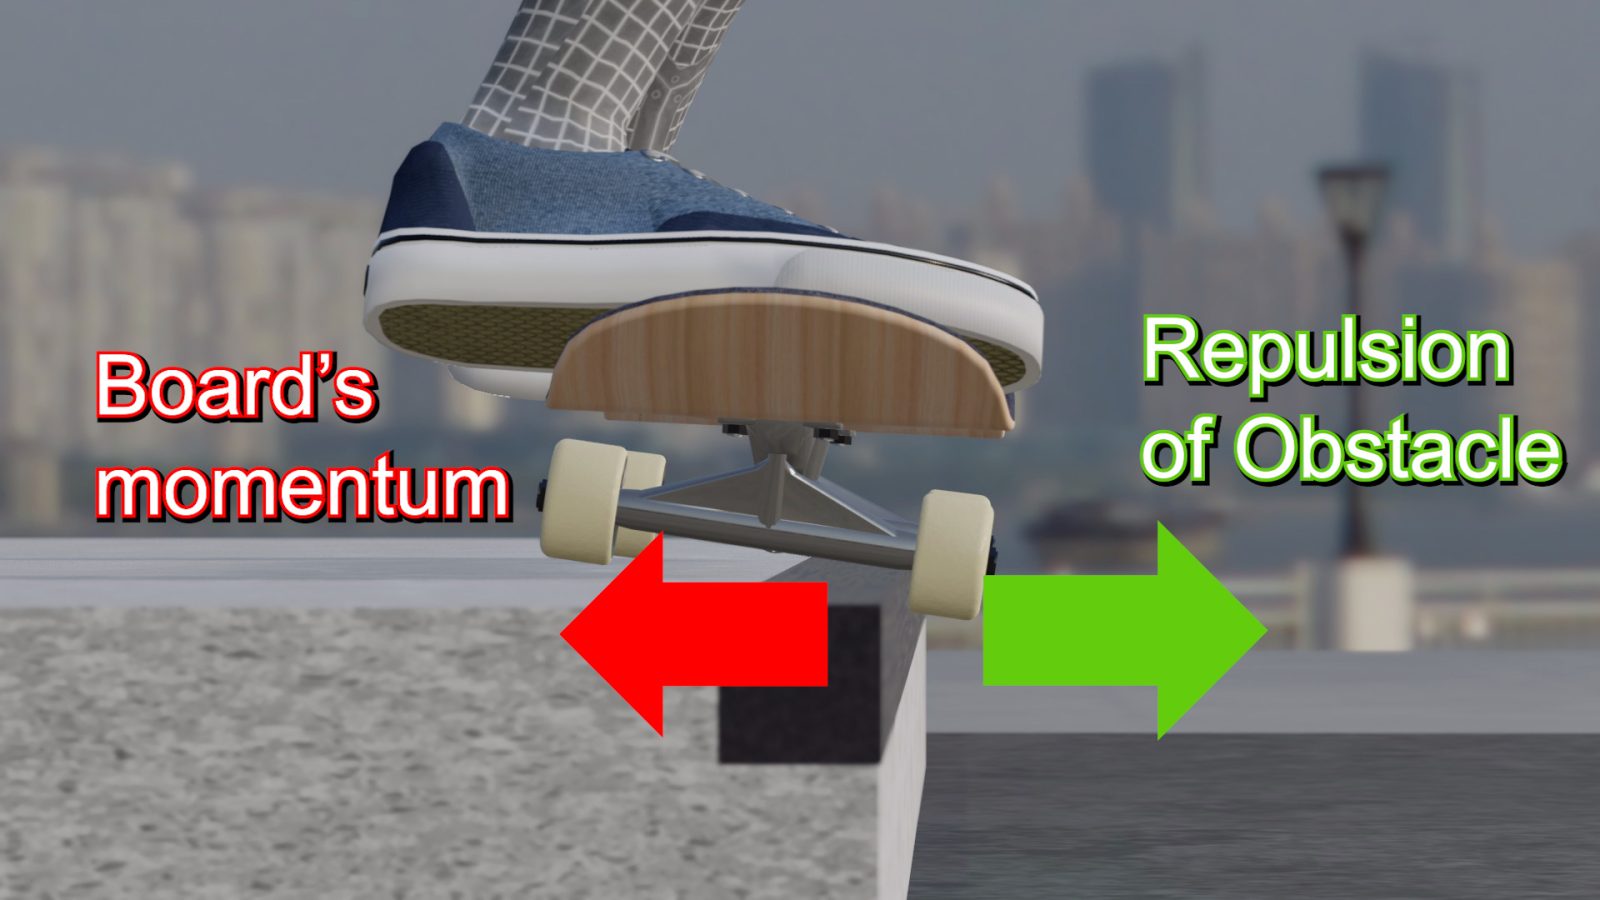
The most crucial reason for angling the approach is that it helps you keep your board under you. By angling the approach, your board will move toward the obstacle, and the toe side wheels will catch it when your body rides up.
Upon locking in, while the wheels catch the obstacle and stop the board from moving in the same direction, your body continues doing so due to inertia. Using this difference, you can keep your weight above your board more efficiently.

How a big angle helps you transfer your weight effectively part 2
Having a big angle also helps you put your weight on the nose more easily. Keeping your weight forward and on the opposite side of the obstacle before you lock in shortens the distance you have to move your body weight to lock in.
As mentioned earlier, the board stops going sideways upon locking in. Because your body continues going in the same direction, your body weight will sit on the nose automatically.

Downside of approaching parallel
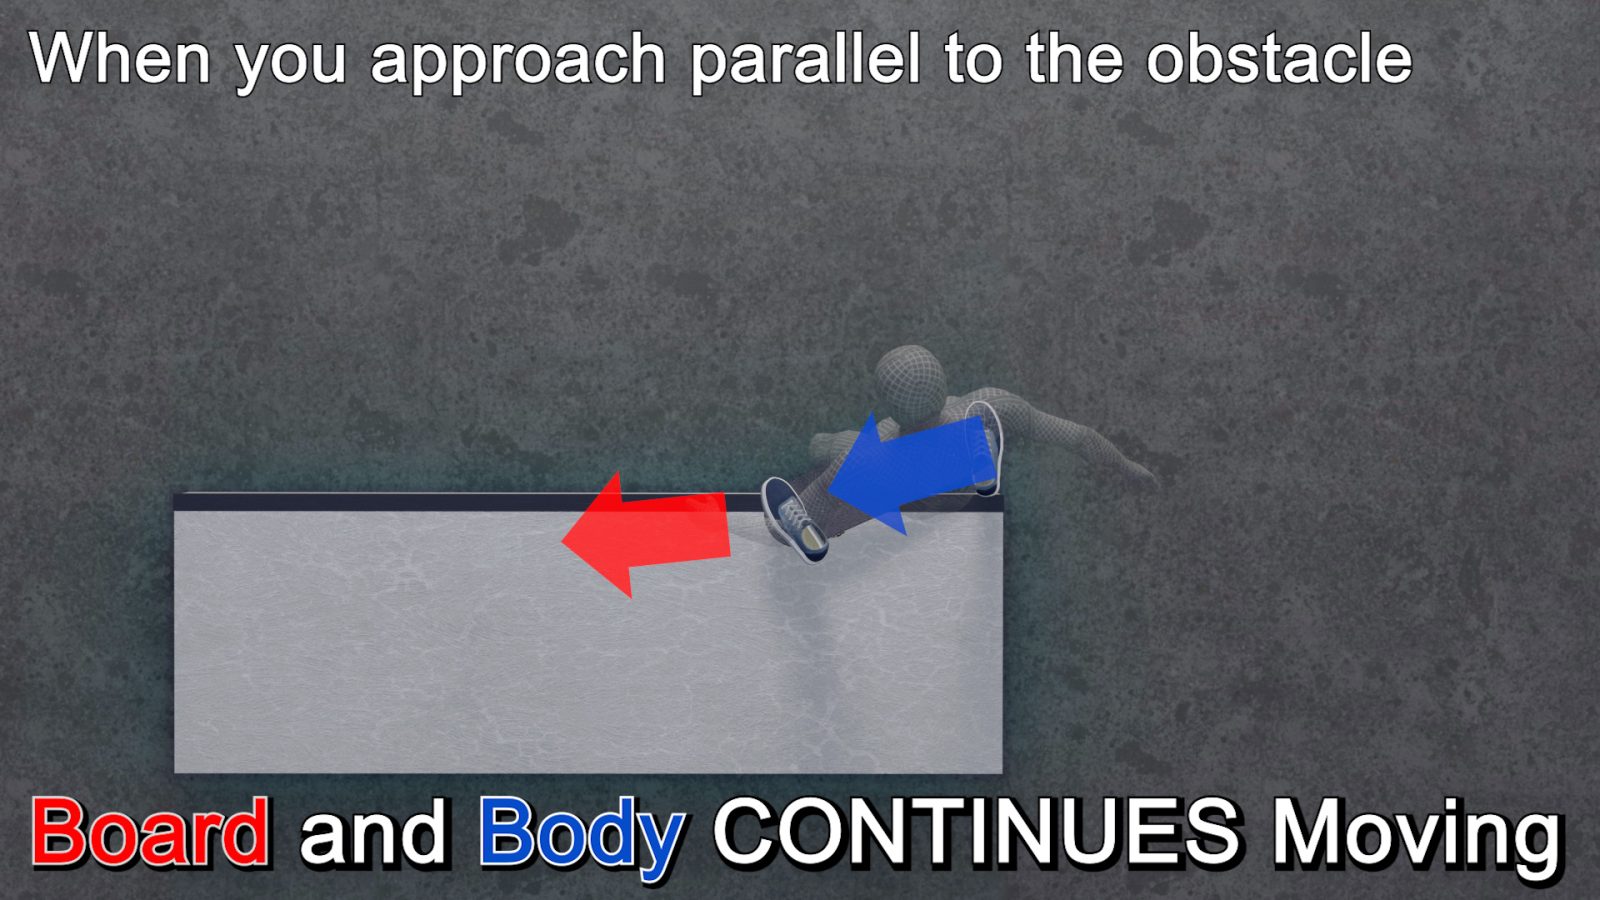
If you approach parallel to the obstacle, nothing stops your board's horizontal movement. In other words, it does not cause the difference between the speed of your board and body.
With your board not slowing down relative to your body's speed, the distance you need to move your weight becomes longer. The longer you have to move your weight, the more difficult this trick becomes. If you think you can't lift the tail, remember how the approach angle can cause this difference and find the best angle for you.
Handling the difference between the angles of the approach and the obstacle
When locking in, the toe side wheels should catch the coping. By "catch," I mean the wheels' inner side should touch the obstacle's side. The big approach angle causes a centrifugal force on your body and tries to shoot it outward. So the inner side of the wheels must catch the coping to get the repulsive force from the obstacle, so you can align the board's direction with the obstacle's direction.
It feels like turning inward. Put your weight on the toe side and let it hang upon the coping. The only difference is that you have to shift your weight on the nose.
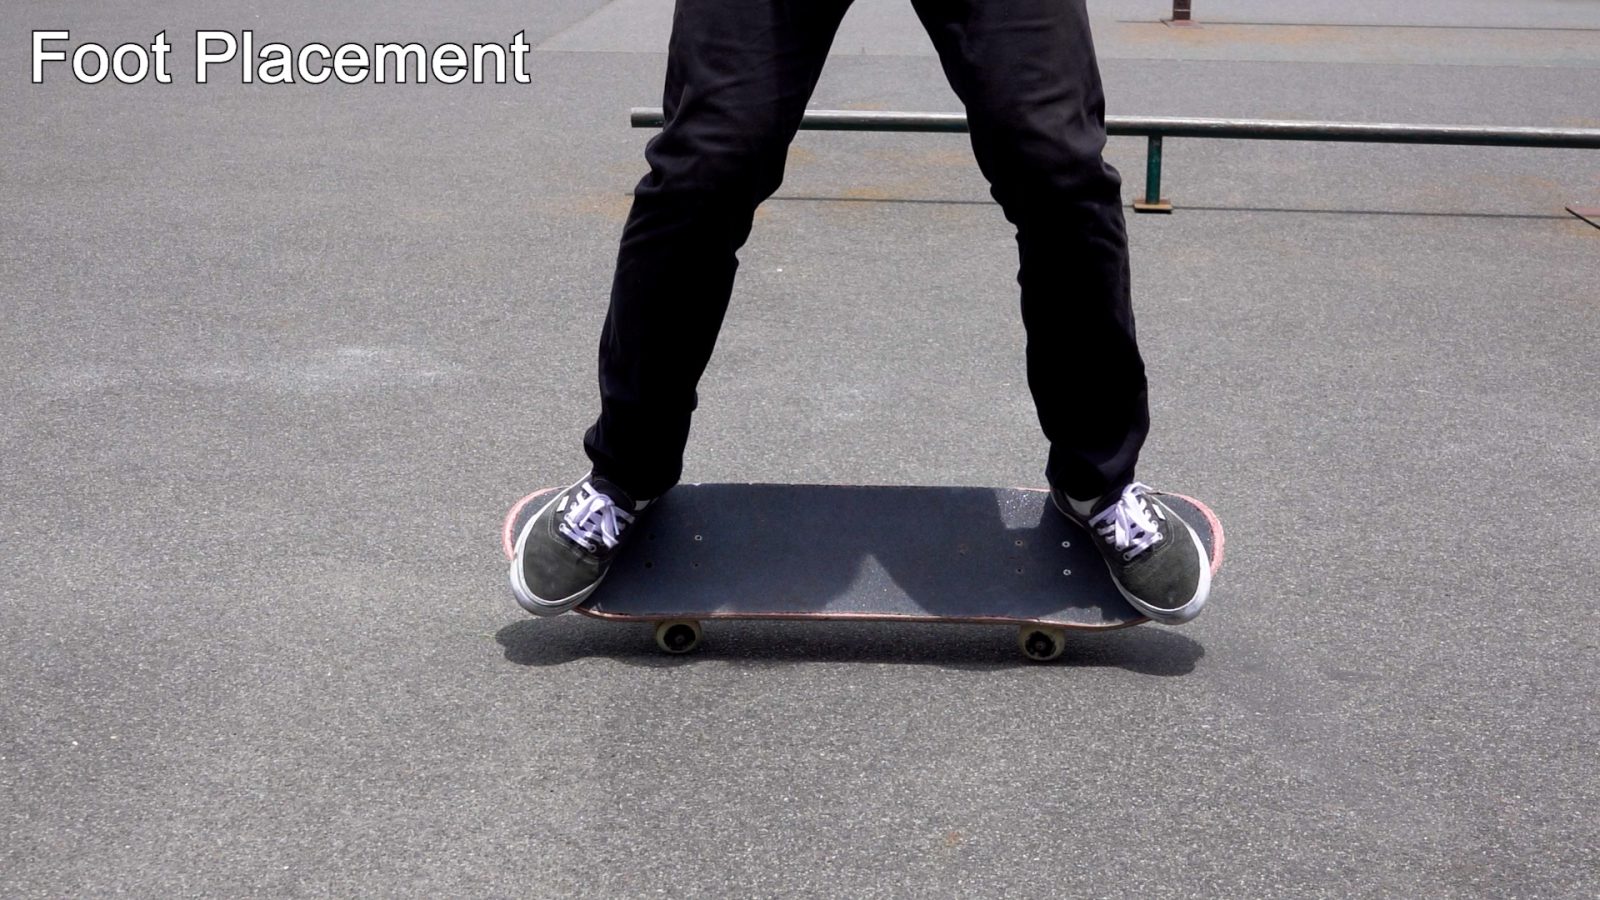
Foot Placement
Feet on the nose and tail
Due to these reasons, place your feet in a way you can put your weight on your toes. Since this is a Slappy grind where you lift the nose by stepping on the tail, you should place your feet on the nose and the tail, respectively.
What to do upon locking in
How to shift your weight upon locking-in
Once you get your feet in the right place, get close to the obstacle and shift your weight on the toe side of the front foot. If you are not angled enough or trying to lock in too far away, it will be difficult to properly shift your weight to the nose. Make sure to shift your weight after getting close enough to where you want to lock in.

Where to focus upon locking-in
Locking in is not the end of this trick. Always keep in mind that the direction of the obstacle is not the same as the board's direction. As the approach angle and the direction of the obstacle differ, if you just put your weight on the nose, you will end up riding upon the obstacle. Push your board slightly in the same direction as the obstacle and help it become parallel to it.
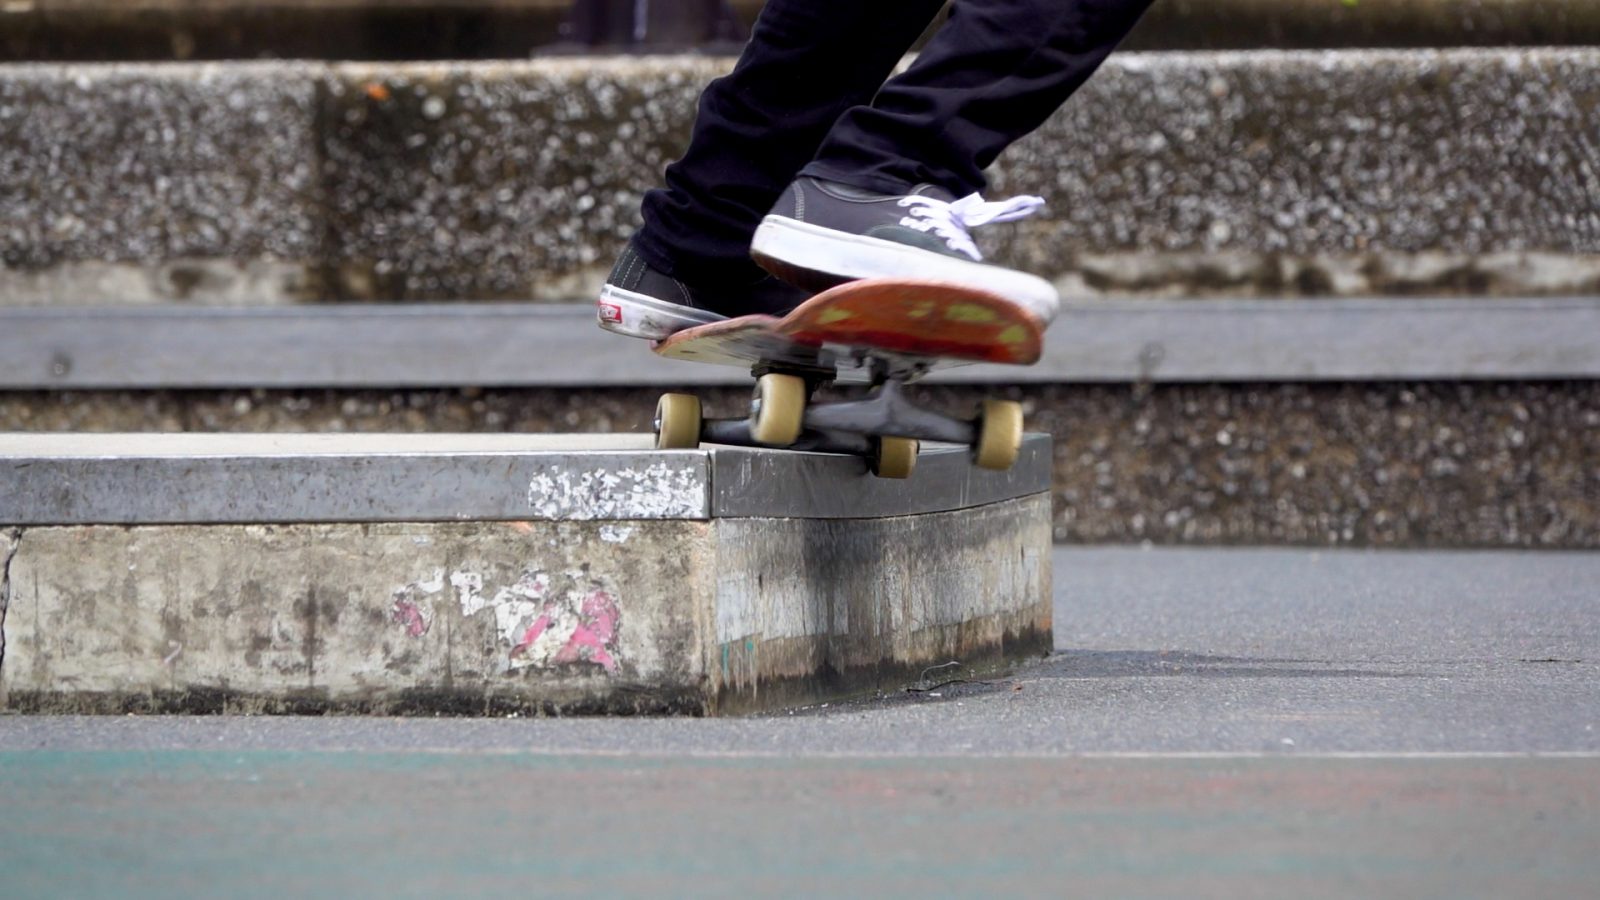
After getting the nose on the coping
Once you put your weight on the nose, all that remains is to lift the tail. Pull your back foot toward the heel so that the toe side of the rear truck also catches the coping.
There is very little to do during the grind. Keep your weight in the middle and relax. Enjoy the feeling of metal trucks grinding 10 cm below your feet without a sweat.

 Convert your video into 3D
 Facebook
 Twitter

