
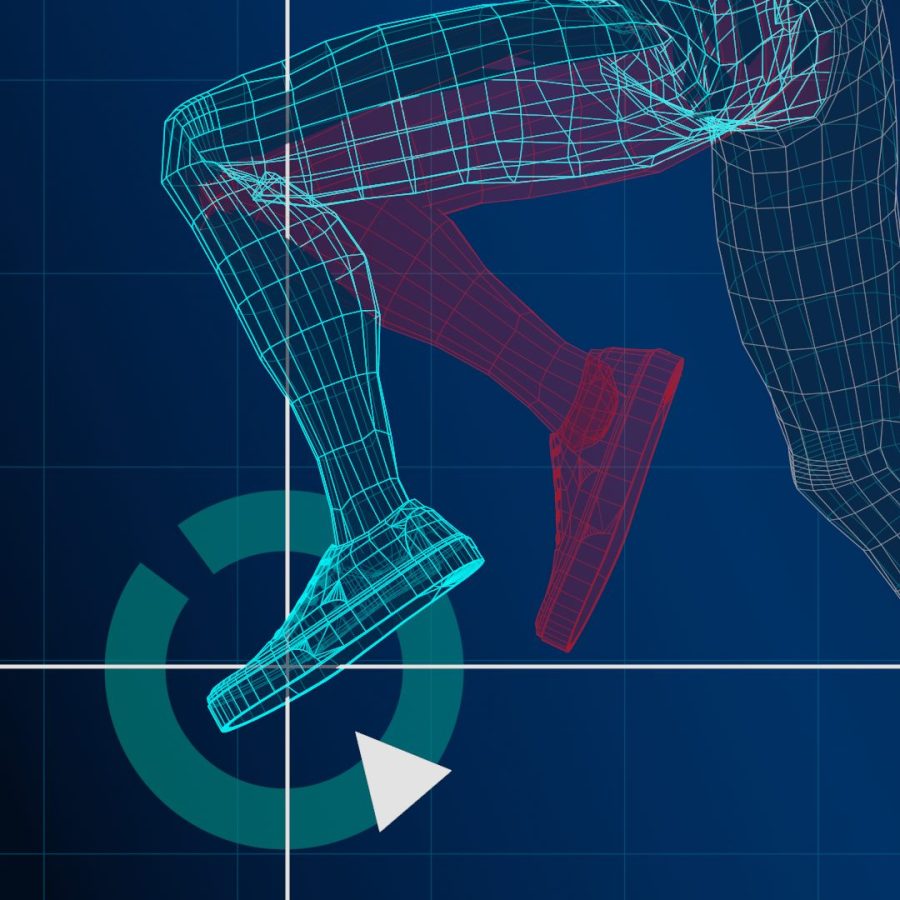
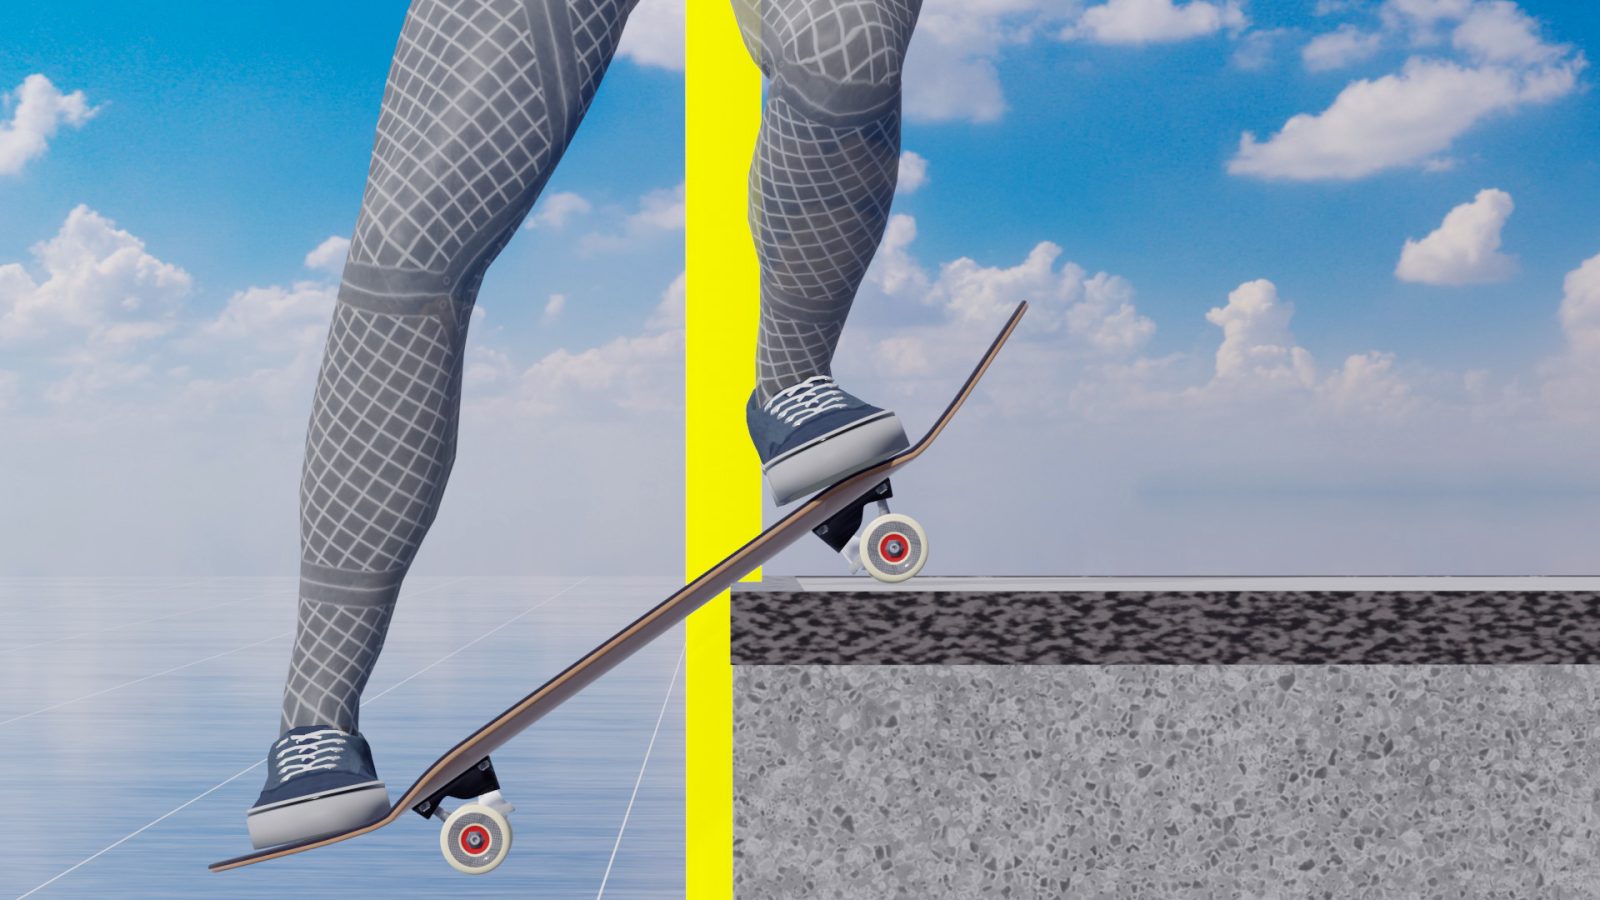
If it's a rail, it is easy to understand how it works, as only the deck touches the rail, and the board stays level. But in this case, the front wheels are in contact with the ledge, and the board is tilted. How is it possible to maintain the slide like this? Actually, there is a way to ride onto relatively high obstacles with the tiniest Ollie and slide stably. Let's uncover that mystery.
Instantly discover issues with your tricks and how to fix them.
Deep analyze your motion with the cutting-edge technology.

Track your daily progress and ask questions to others.
Summary
Don't Ollie. Push the board onto the ledge
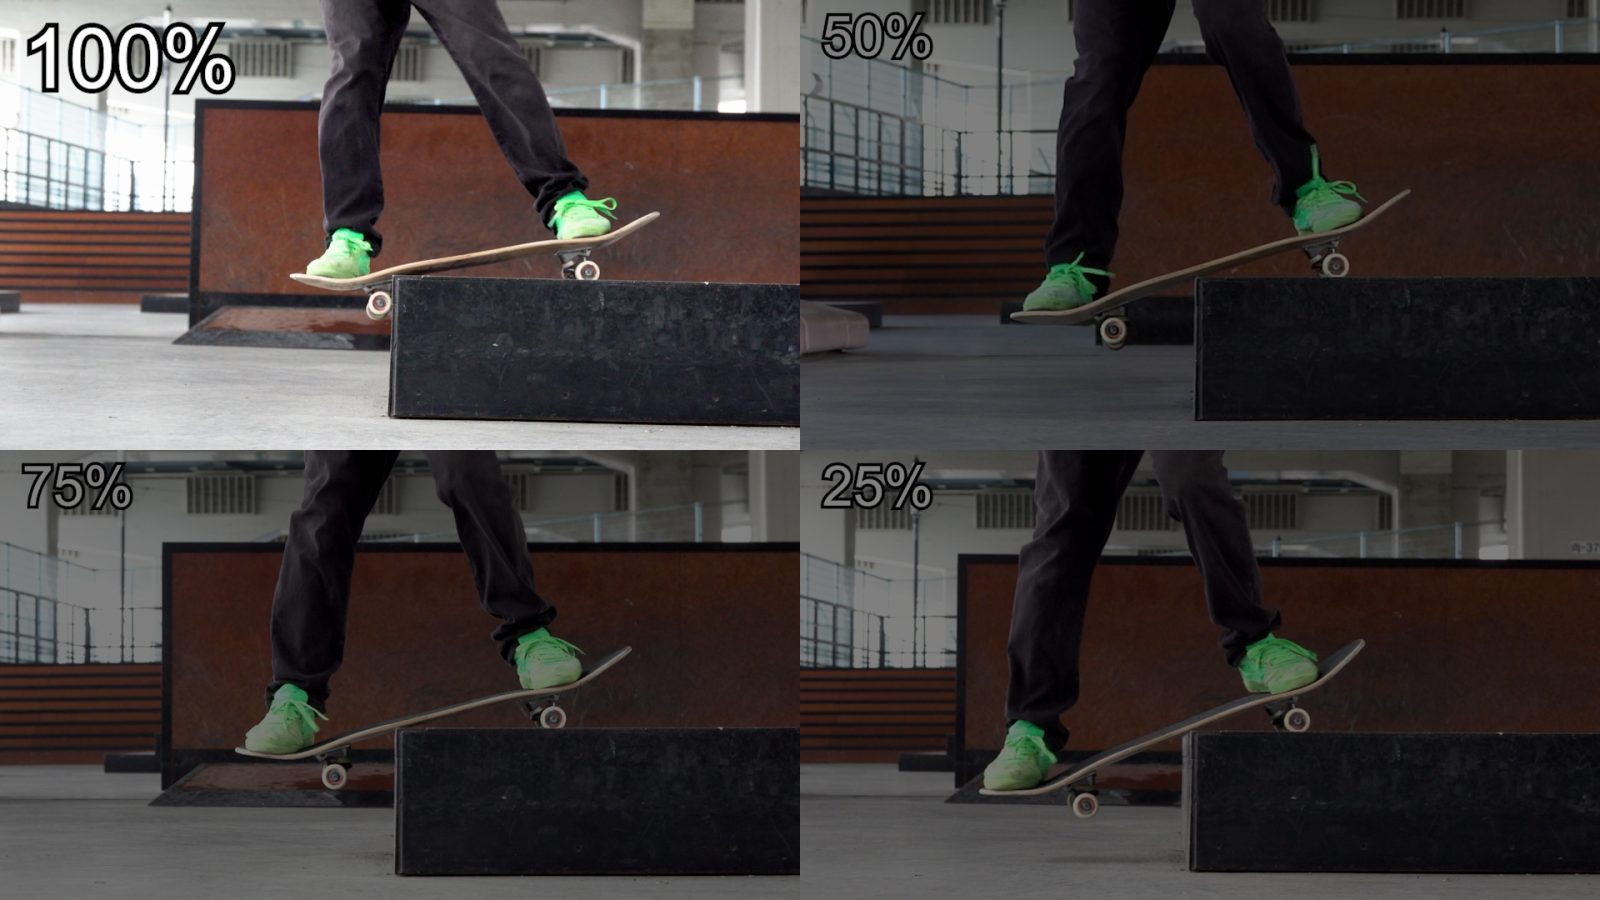
You don’t ollie high above the ledge to place your board on it. By lightly popping the tail and pressing the board against the ledge, you can push it into the position where it will slide.
Push the board all the way in
Although the board still slides even with a shallow lock-in, but if you want to slide for a longer distance, it’s better to press it in as deep as possible. This helps reduce the friction between the front wheels and the ledge.
Adjust how far you push the boaard depending on how slippery the ledge is
The heel-to-toe side position of the board should be adjusted depending on the characteristics of the ledge. For example, when skating rough street ledges that don’t slide easily, you’ll need to place the board farther out.
Mechanism of how the board rides up onto the ledge
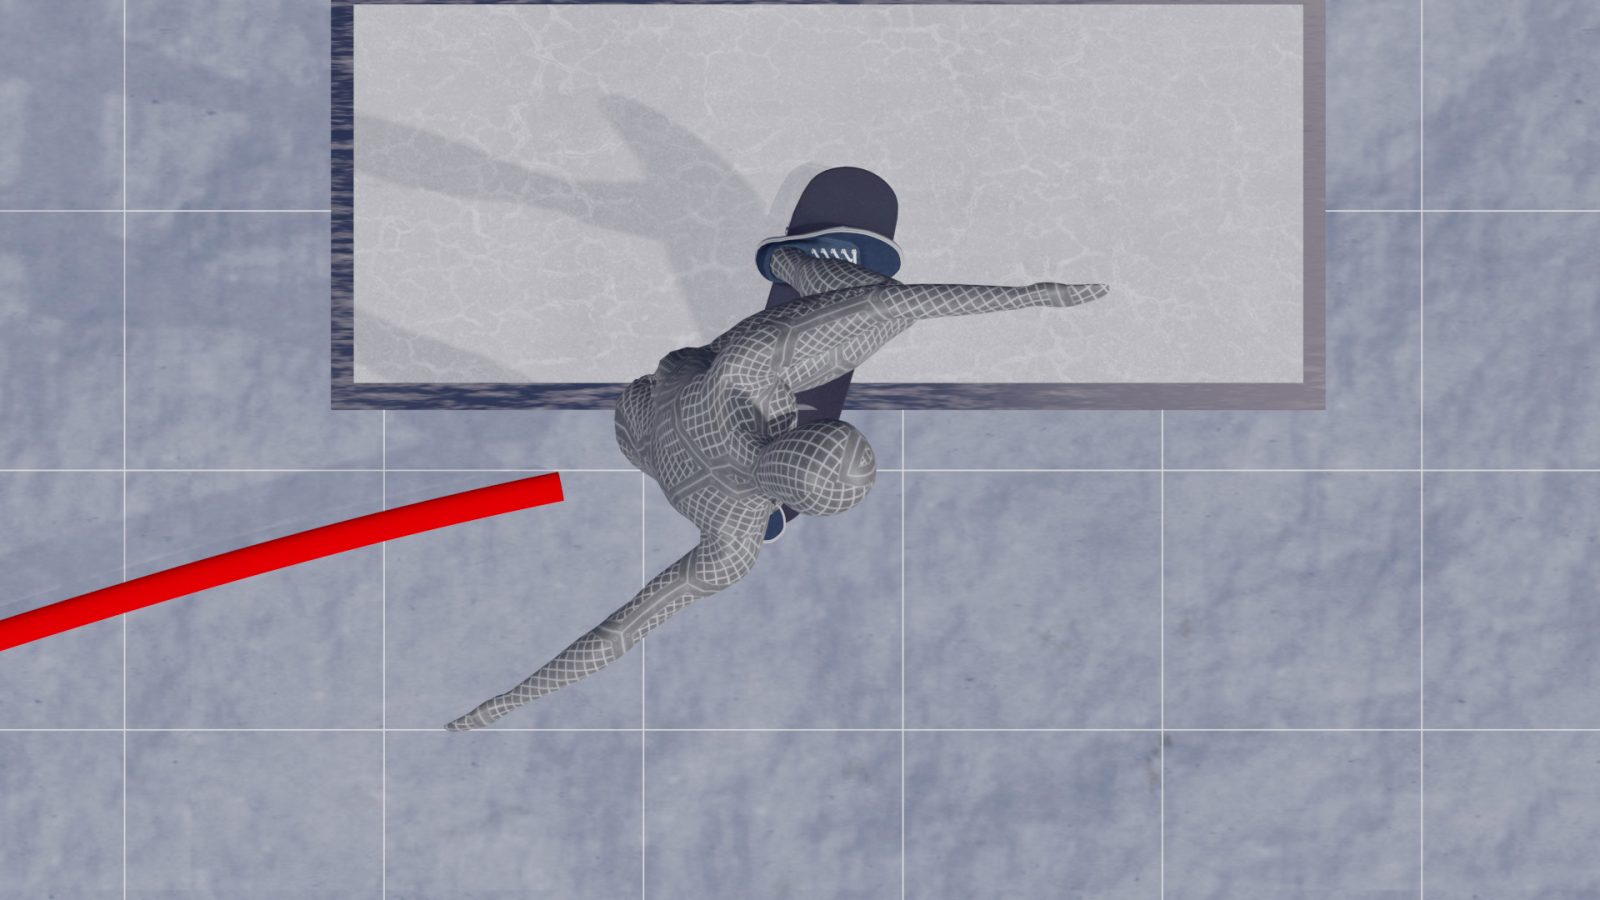
A common misconception is that you should Ollie higher than the ledge and land on it. In reality, you very lightly pop the tail and lift the nose while riding onto the obstacle. As your body continues to move toward the obstacle, the board is pushed deeper onto the ledge, forming the sliding posture.
Take a look at this movement. You can see the board being gradually pushed in after it makes the first contact with the ledge.
If you Ollie high and land on the ledge, a lot of friction builds up between the board or wheels and the surface of the ledge, and you won't be able to slide.
How far should you push the board in
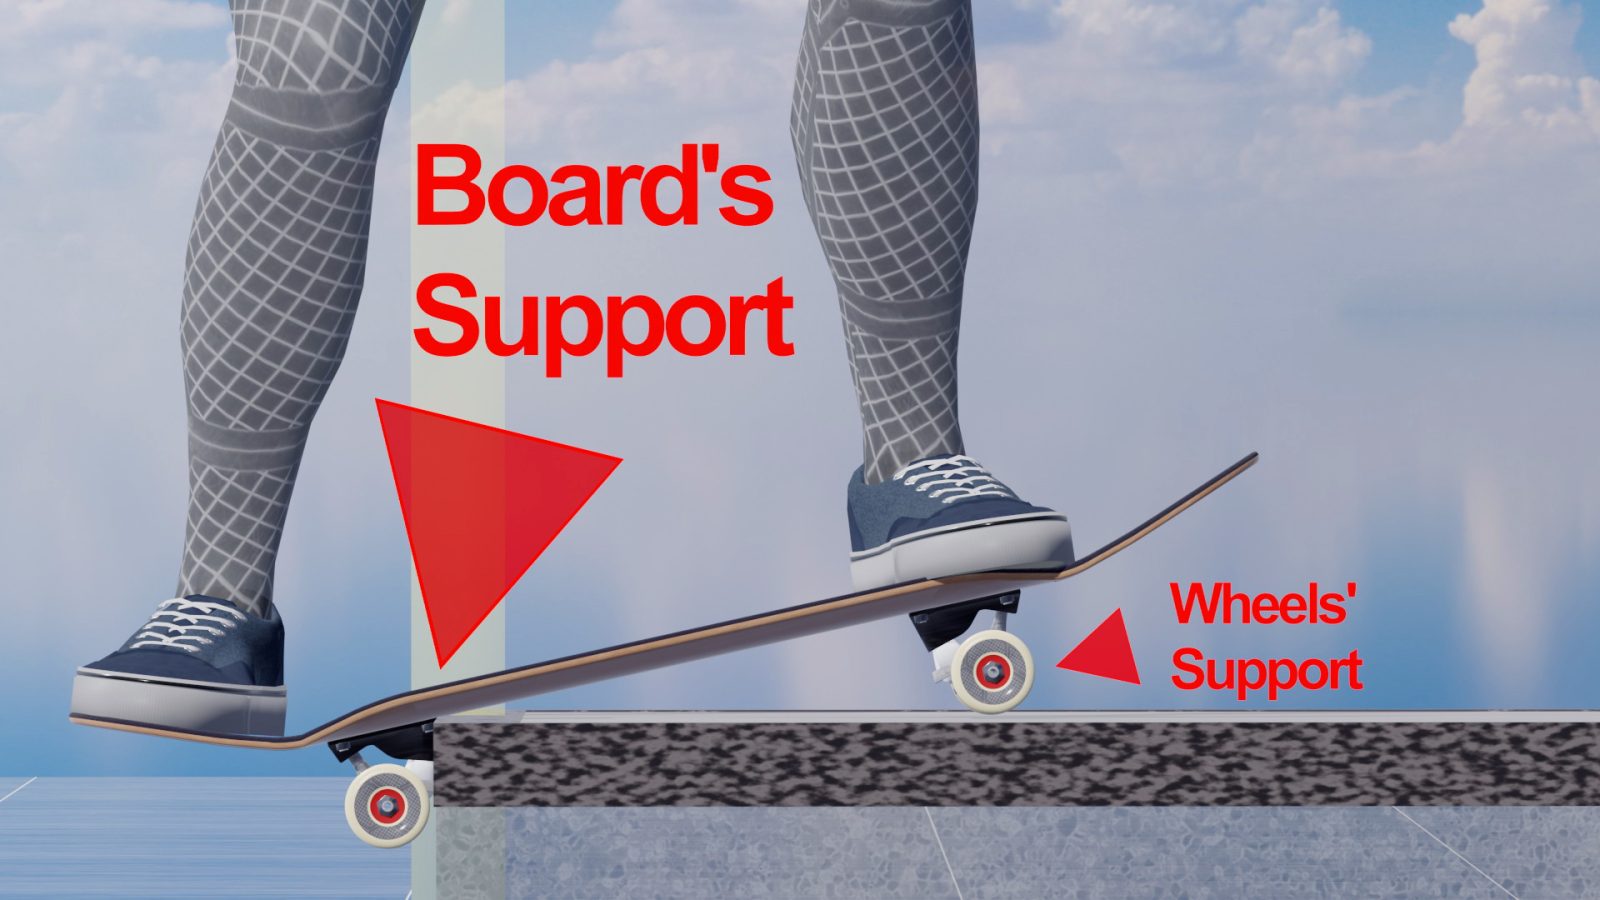
In practice, you can slide in many positions. But if you want to slide longer, it's better to push it all the way to the end. The key to understanding this is the relationship between your center of gravity and friction.
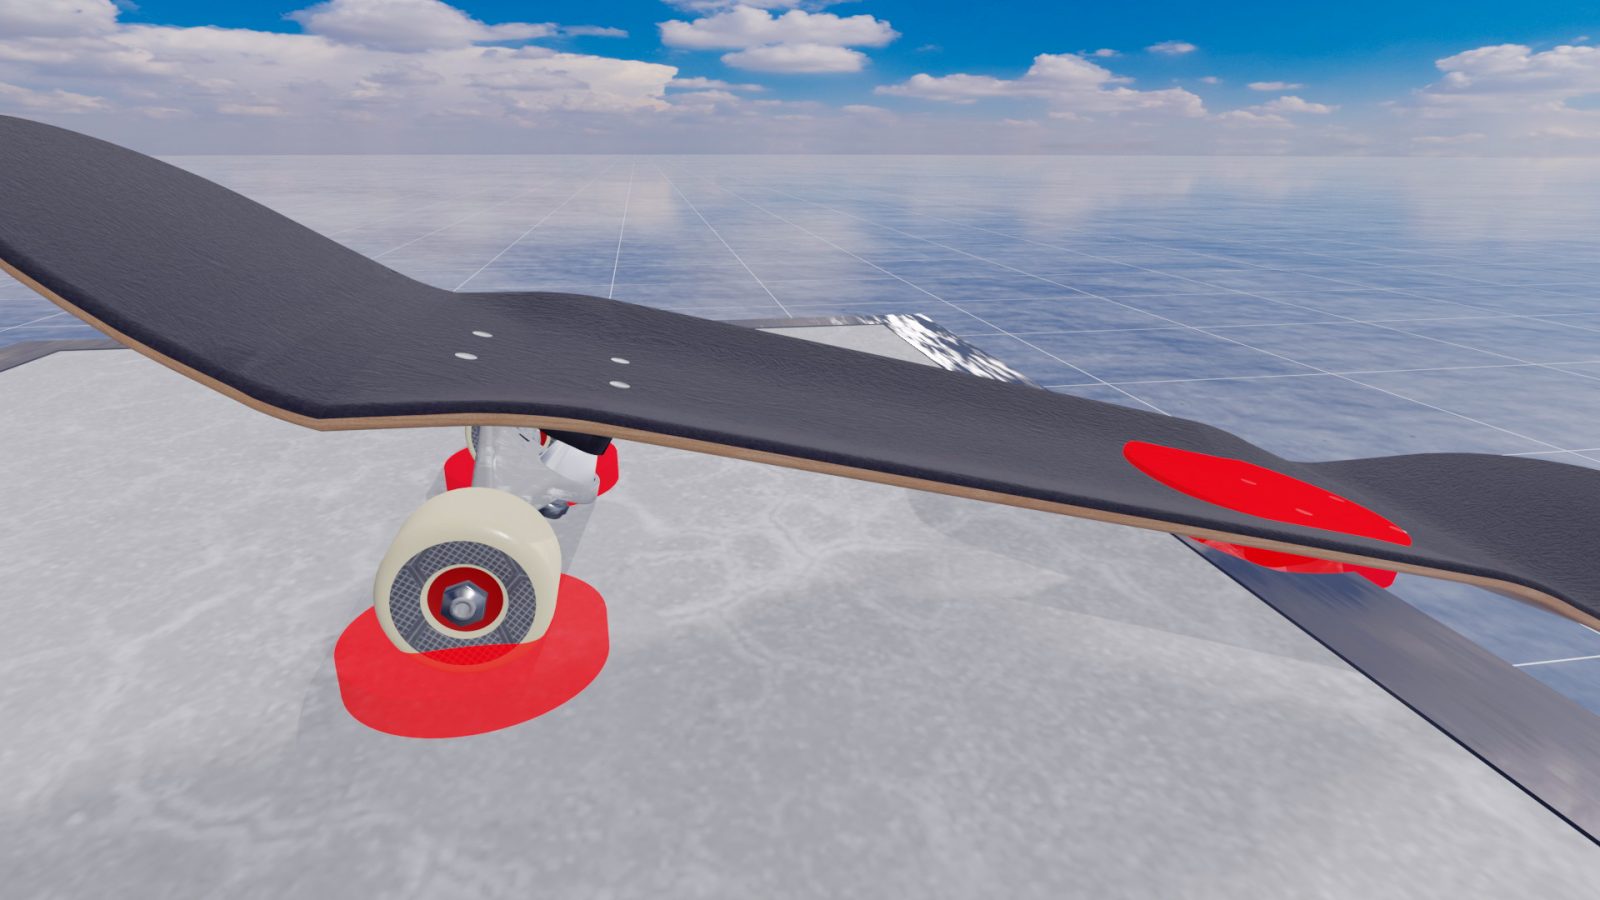
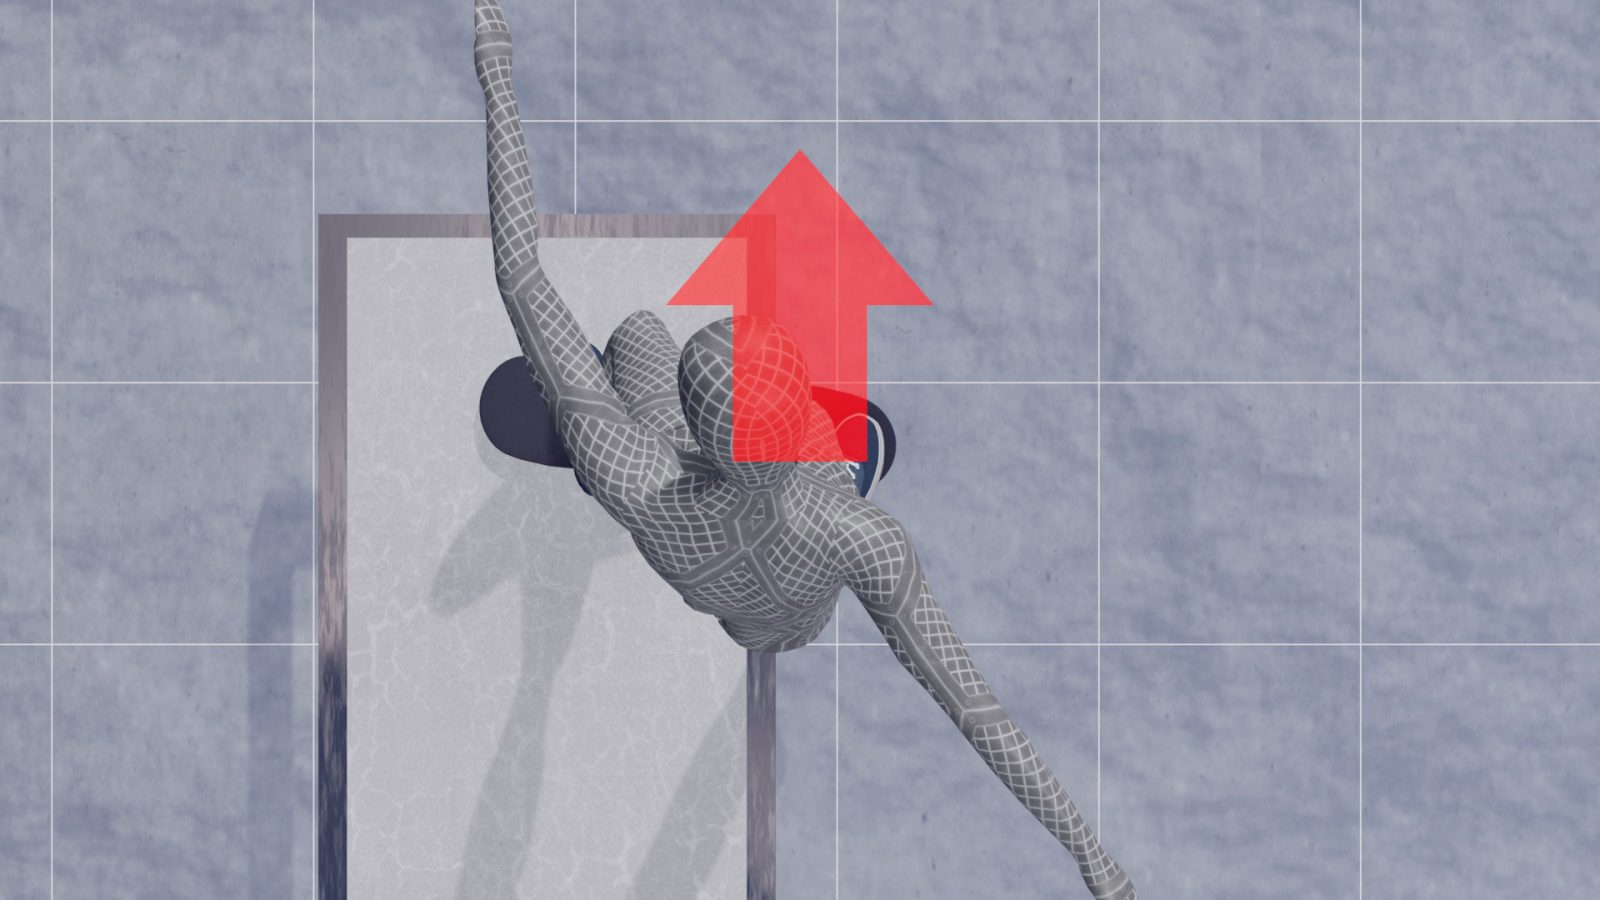
During the slide, your center of gravity stays right above the edge of the ledge. Now, let's imagine how friction is affected when the position of the board changes while the center of gravity stays there. The shallower the lock, the closer the front wheels are to your center of gravity. Doing this transfers your weight directly onto the wheels, increasing friction.
Sure, you can still slide without pushing in deeply. But in order to reduce the friction between the front wheels and the ledge, you need to shift your center of gravity farther outward, so you can distribute more of your weight on the board. The problem is, since your weight is not aligned with the ledge and the board is tilted, maintaining the slide for a long time becomes difficult.
On the other hand, when you lock in deeper, the pressure on the front wheels decreases, and more weight is distributed onto the board. Because the board has less resistance than the wheels, it slides more easily. With your weight directly above the ledge and the board leveled out, you can achieve a longer and more stable slide.
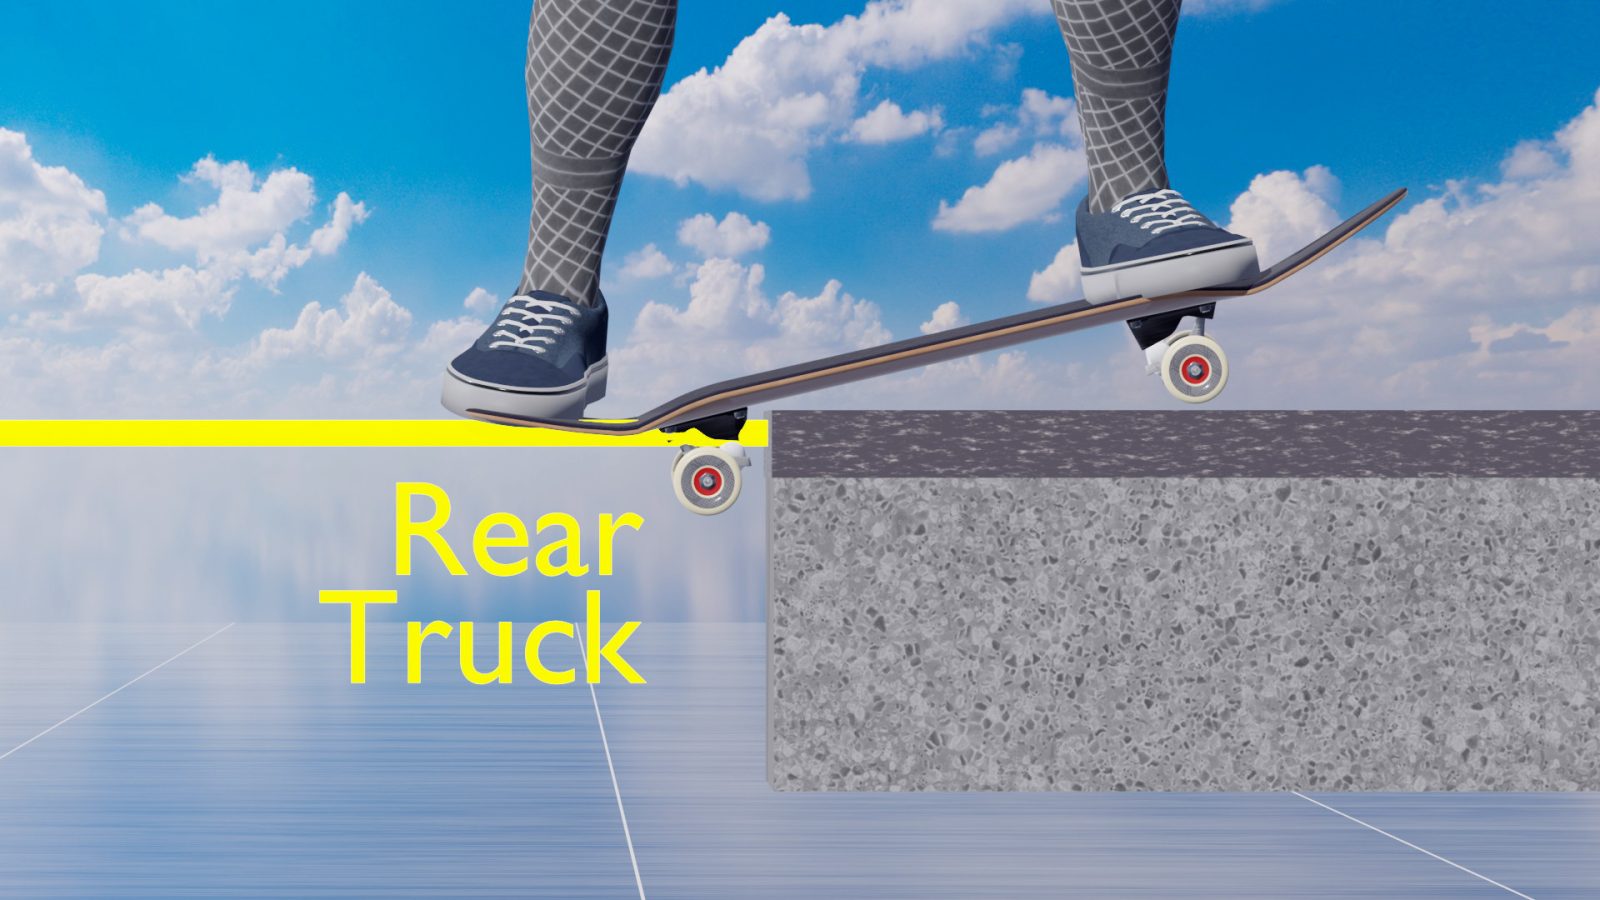
There is another benefit to pushing the board onto the ledge instead of Ollieing onto it. As the board presses in gradually, the rear wheels stay below the corner of the ledge. So, no matter how much you push in, the rear truck will catch the ledge before you overshoot your board sideways.
Step-by-Step Motion Analysis
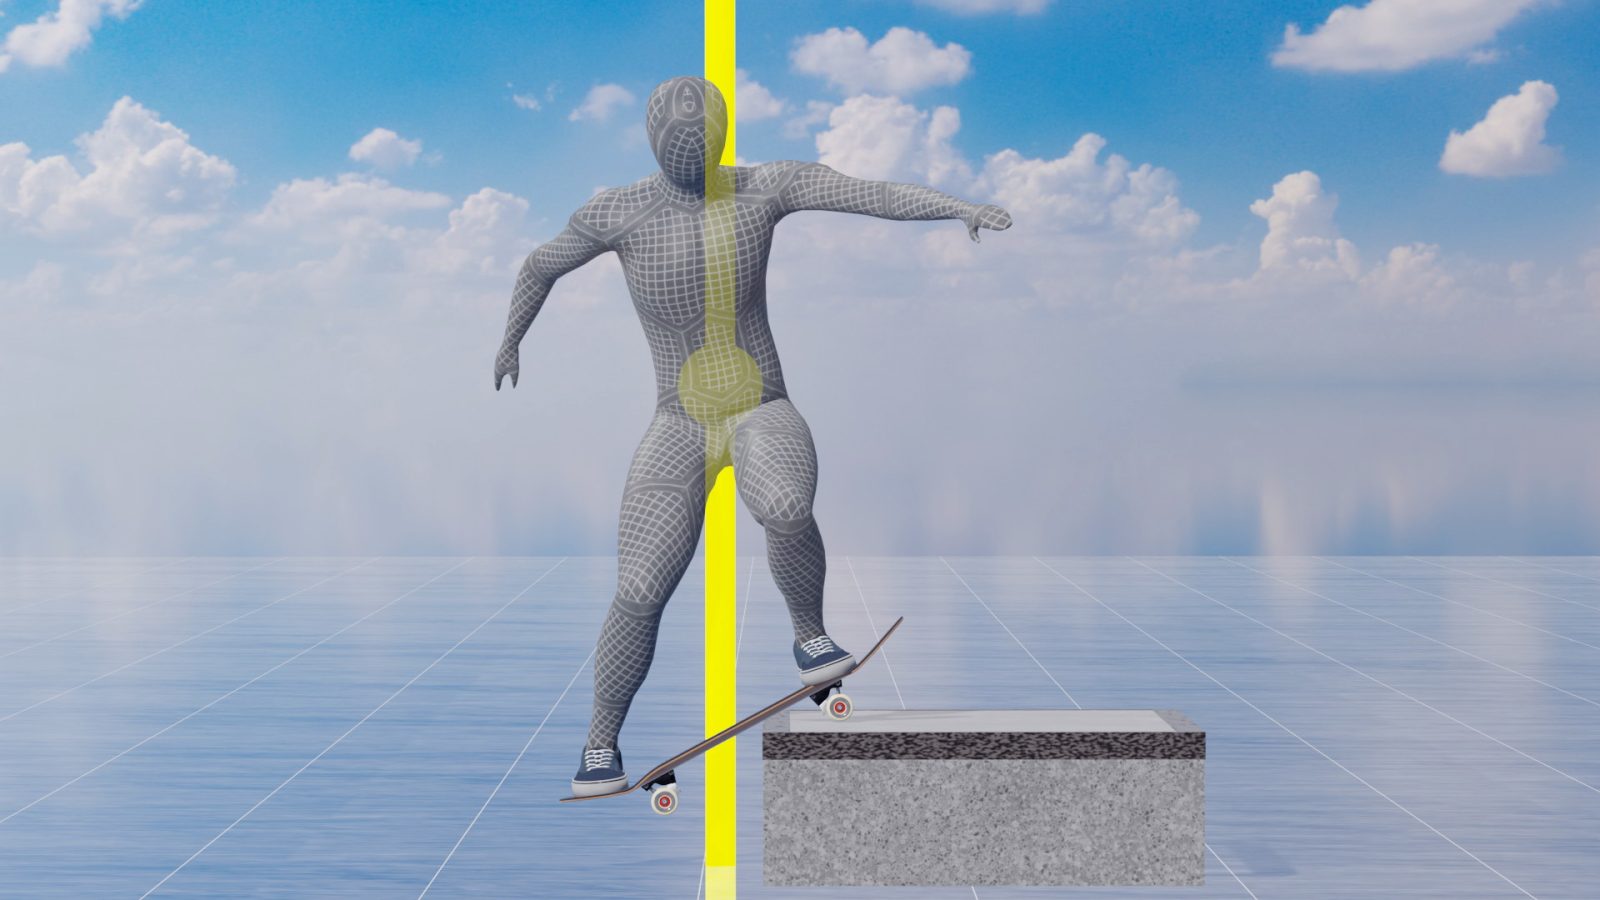
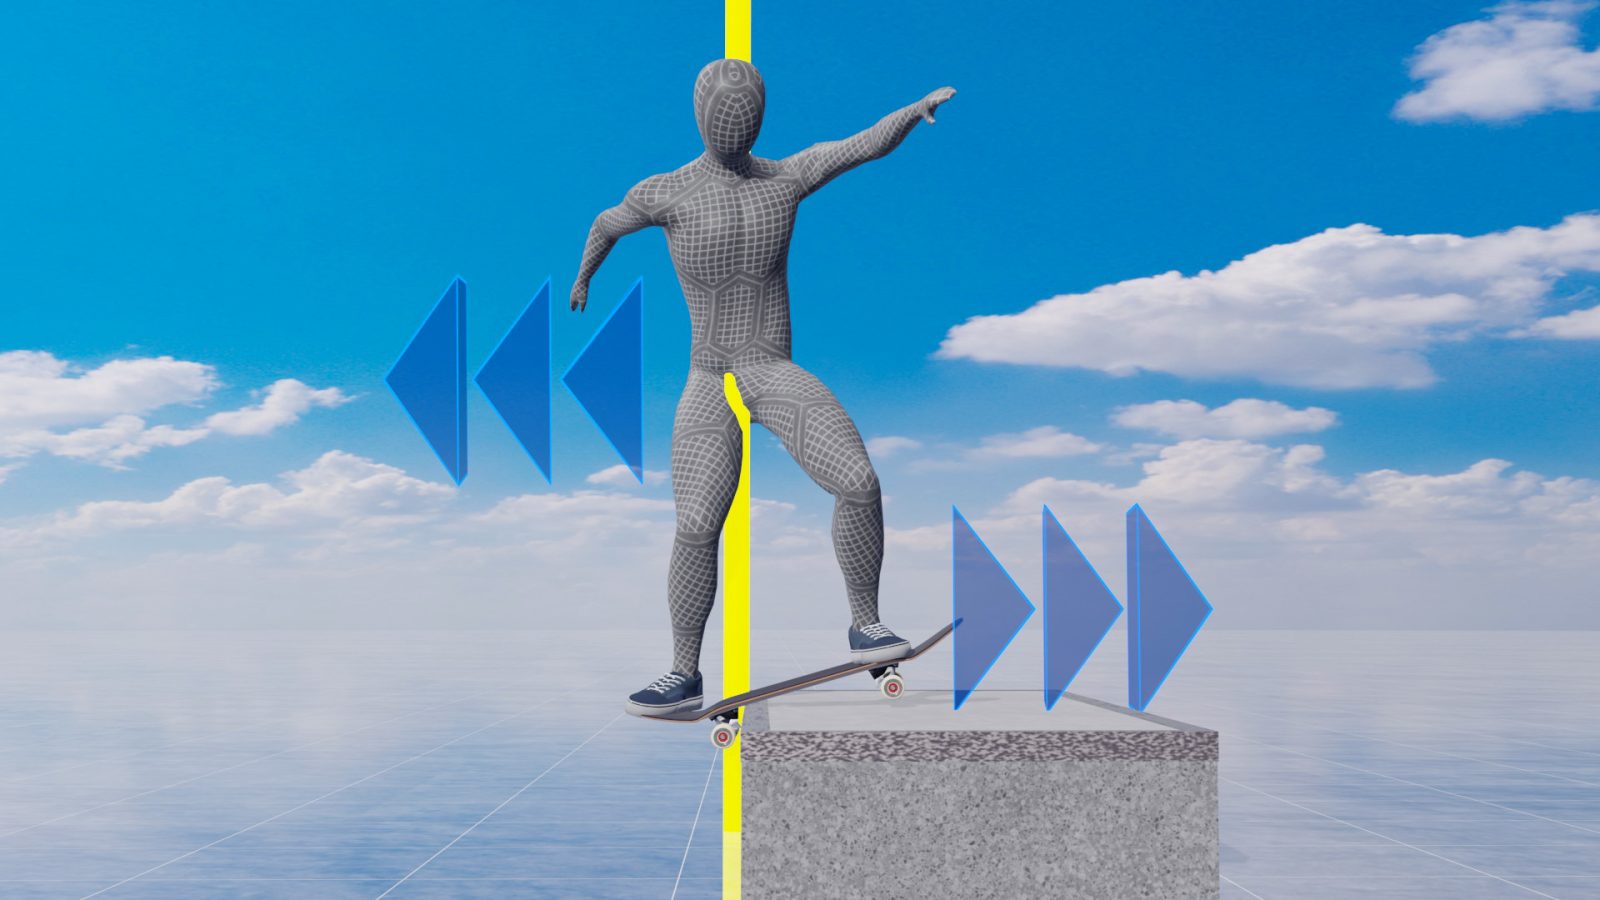
Approach the ledge almost parallel to it, or with a slight angle.
As you get close, open your shoulders and lightly pop the tail to lift the nose.
At this moment, your body is moving toward the ledge. If you ride up without doing anything, your center of gravity moves over the front truck, creating friction between the front wheels and the ledge, which stops the slide. To make it slide, you need to direct your body parallel to the ledge. A slight inward shift of your center of gravity helps achieve this.
As you push the board onto the ledge, your body weight shifts even further in the opposite direction, allowing you to reach the correct sliding posture. You need to adjust the exact position where you lock in, depending on how slippery the ledge is. In my case, the ledge I was skating was made of Skatelite and slid really well. Adjust how far you push your board depending on the ledge you skate. Aldo, don't forget to apply enough wax.
How to Practice
Locking in deeply from the beginning is difficult. Start by practicing lifting the nose and riding up, then gradually adjust how deeply you lock in.
Once you get used to the motion of locking in, try sliding. At first, aim for the end of the ledge and turn your board around 45 degrees. You'll see the board does an instant slide before the front wheels touch the ledge. But at the next moment, the front wheels get over the ledge and land on the ground. This helps you get used to the feeling of sliding without having to deal with the friction of the wheels.